
Water bath canning is a great way to start for beginners. There is no scary equipment, the start-up cost is minimal, and there is less margin for error. Water bath canning is a safe method for preserving high-acid foods. You should NOT water bath can low acid foods like vegetables or meat. (It doesn’t matter if your Grandma Matilda did it and live to the ripe old age of 99 and a half. We know now that the risk of botulism in much higher when low acid foods are preserved, and it’s not worth the risk of paralysis or death. Low acid foods must be pressure canned.)
Examples of foods that may be canned in a water bath are:
What you will need for water bath canning:
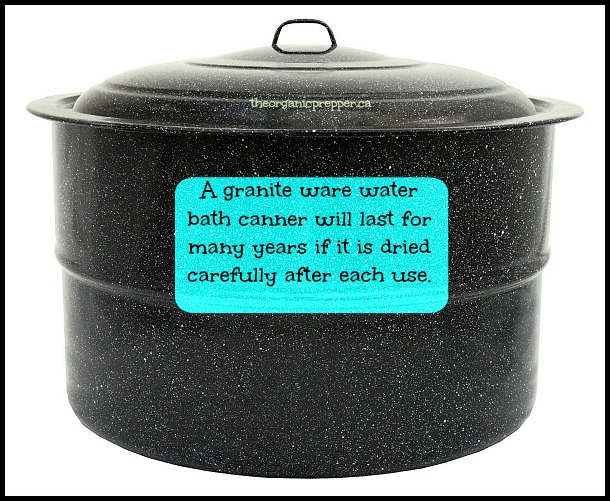
A big canning pot
I have THIS ONE and it will last basically forever, as long as you dry it out carefully before putting it away. If it remains damp, it will rust through the bottom.
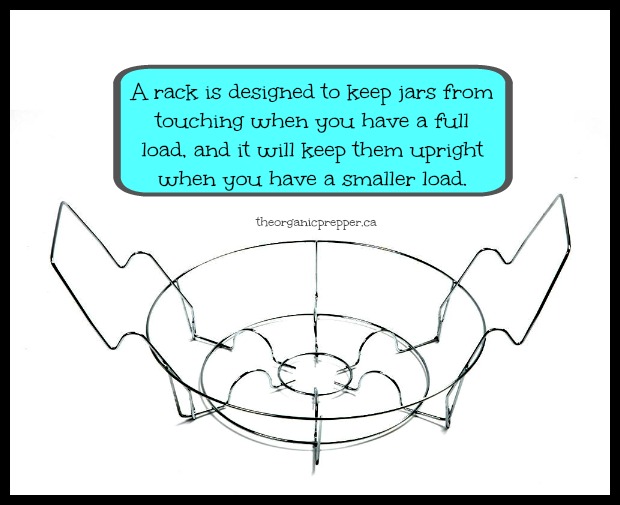
A canning rack
If you don’t have a rack you can use a folded towel in the bottom of the pot or get one HERE.
The benefit to the rack below is that it keeps the jars from bumping together in the canner and holds them upright.
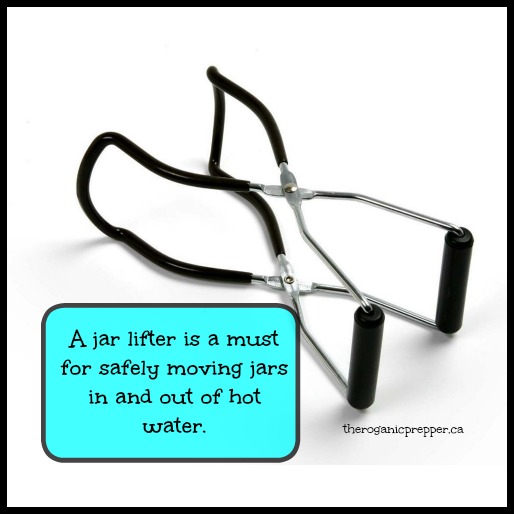
Jar lifter
This is an absolute must have to avoid burns – you can find one HERE at a very reasonable price.
I like to keep a spare on hand, just in case.
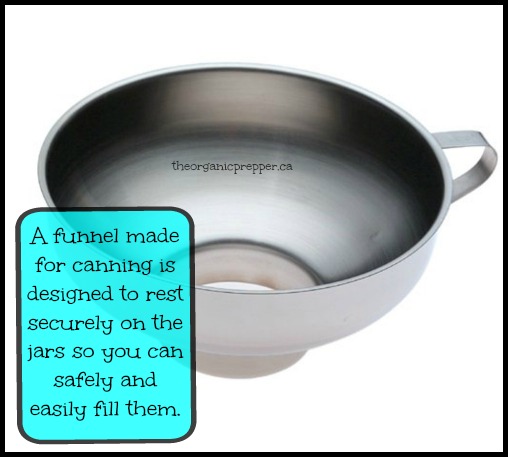
Canning jar funnel
These are designed to rest inside your jars so that you can safely ladle boiling hot contents into them without burning yourself or making a huge mess.
I like this stainless steel type that doesn’t absorb odors or leach petrocarbons into your food. You can find it HERE.
As with pressure canning, you can get all the gadgets if you want, but these are the essentials.
Then of course you also need:
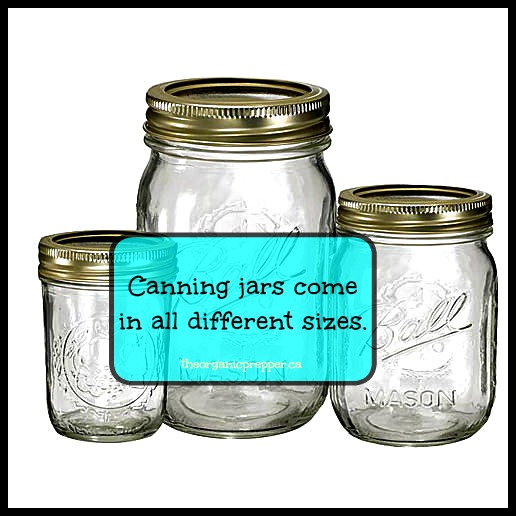
Canning Jars
I keep all different sizes on hand for different types of canning projects.
You can find some pretty good deals HERE and they change seasonally.
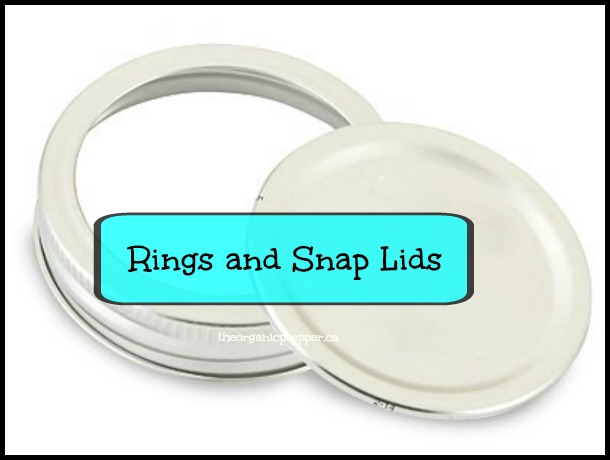
Flats (also called snap lids) and Rings
I strongly recommend THIS KIND because they are BPA-free.
THESE LIDS are also BPA-free. They’re far more expensive initially, but they’re reusable, so in the long run they are a better deal.
Easy Step-by-Step Guide to Water Bath Canning
Okay….your product is on the stove, bubbling merrily away……
Sanitize your jars, lids and rings. If you have a dishwasher, you can wash them in the dishwasher – the heat from it is enough to sterilize everything. Otherwise, you need to boil the items for at least 10 minutes, lifting them carefully in and out with the jar lifter. Leave the items in the dishwasher or the hot water until ready to use. Another option is to add 10 minutes to your processing time in the water bath but this can affect the quality of your product. I’m notoriously lazy and use the dishwasher when I have one. Click HERE for more information on prepping your jars.
Prepare your canner. Place your rack in the bottom of your canner and fill your canner with water, leaving about 3-5 inches at the top to allow for room for your filled jars. If you don’t have a rack, you can line the bottom with a folded towel. Bring your water to a boil. Because it takes forever and a day to bring that much water to a boil, I generally start it while I am prepping my food.
Fill your jars. Line up your jars on a heat proof surface near the stove. You can place a towel on the counter to protect it from the hot, filled jars. Using the funnel, ladle the prepared product into the jars, leaving the head-space recommended in your recipe.
Put on your lids. With a dry clean dishtowel, carefully wipe the lip of the filled jars, removing any residue. You can dampen the dishtowel with vinegar to remove anything sticky or greasy. Place the flats on each jar, then finger tighten the rings – you don’t have to really torque on them – the job of the rings it to hold the flats in place until they seal.
Place your jars in the canner. With your handy-dandy jar lifter, place the closed jars carefully into the canner. Put them in gently because, as you know, boiling water hurts when it splashes on you. Be careful not to let the jars touch because they could break when they bump together in the boiling water. Make sure the lids are all completely submerged under the water. They don’t have to be under by inches – just covered.
Process the jars. Put the lid back on and return the canner back to a rolling boil. Don’t start clocking your processing time until the water is at a full boil. Then just leave the jars in the water bath for the amount of time required in your recipe. If you want to sound productive you can refer to this as “processing your jars”.
Remove the jars from the canner. Using your jar lifter, carefully remove the jars from the boiling water. Tip the jars to the side to allow the hot water to drip off the top. Then place the jar on your towel or heat-proof surface.
Now, leave ’em alone! Allow 12-24 hours for the jars to cool and seal. You will hear a musical “pop” “plink” “ping” noise as the jars seal in the cool air – that is the lid getting sucked down and forming a seal to the lip of the jar.
When you are ready to store the jars, you can remove the rings. This keeps your rings from rusting because of moisture trapped between the metal ring and the jar. Test the seal by pushing down with your finger. If it pops back and forth it is not sealed. Put it in the refrigerator and use the unsealed product in the next few weeks. Store your sealed little gems in a cool, dark place. (It’s okay to peek in and admire them from time to time.)
Resources for Canning:
Presto 01781 23-Quart Pressure Canner and Cooker
Presto 1755 16-Quart Aluminum Pressure Cooker/Canner (Safe for glass cook-tops)
Presto Cooking/Canning Rack for Pressure Canner
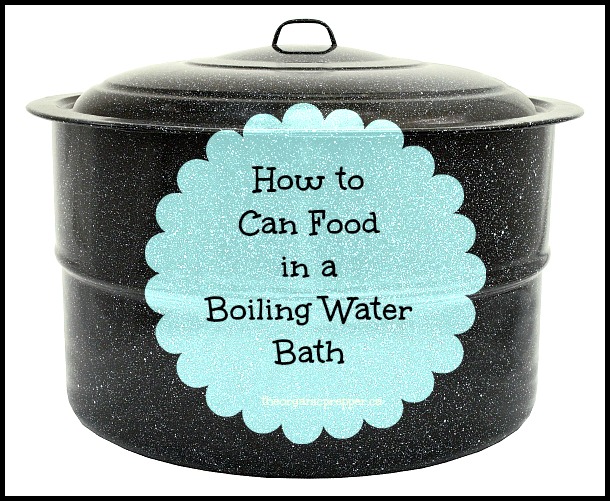
How to Can Food in a Boiling Water Bath
Granite Ware 0707-1 Steel/Porcelain Water-Bath Canner with Rack, 21.5-Quart, Black
Norpro Stainless Steel Wide-Mouth Funnel
How to Sanitize Jars for Canning
How to Adjust for Altitude When Canning
Ball Regular Mouth Lids and Bands – 12 pack
Tattler Reusable Regular Canning Lids and Rubber Rings, BPA Free, Dishwasher Safe (Pack of 12)
Tattler Reusable Wide Mouth Canning Lids & Rubber Rings – 12/pkg


7 Responses
Best, most simple and straightforward FAQ on canning I’ve ever come across. I had lots of extra fruit years ago, and couldn’t find a good FAQ like this, so ended up freezing the extra mangos and papayas into ice cube trays, and then baggies (it worked, but took up a lot of space). Thanks!
Thank you, Debby – you might also like the post The Jam 411 – https://www.theorganicprepper.com/the-jam-411-08092012 – it has some charts that make it simple for you to modify recipes according to what you have on hand. 🙂
My husband is determined to cold-pack meat, he says his mom always did it because she never had a pressure canner. So he wants to cold pack (waterbath) pork and beef and bacon for our stockpile. Have any of you heard of this?
Hi, Becky.
I’ve heard of water bath canning meat but I strongly caution against it – it is a risky practice. While I recognize that many people used to can meat this way, the USDA considers it unsafe. Here is the link to a PDF put out by the USDA – https://nchfp.uga.edu/publications/usda/GUIDE%205%20Home%20Can.pdf
This is one of those things that just isn’t worth the risk. Botulism, if not fatal, can have horrible lifelong repurcussions. Remind your husband that babies didn’t ride in carseats and people painted cribs with lead paint – we know now that although many people survived these things, it’s not the best practice now that we know better.
Best of luck – pressure canning really is easy and safe!
Daisy
I’ve done the hot water bath for meat & veg. years ago with no side effects but I wouldn’t recommend it any more. Besides it takes 3 hours boiling that way so unless you have a very big canner and do a lot at once that is a long time to have the stove hot especially in the summer. The pressure cooker eases my mind
I’m new to canning and this was such a helpful post! How soon after spooning my homemade jam into the jars do I need to submerge them into a water bath?
I’m planning on making a large batch of small (125ml) jam jars so I’ll have to submerge them in a water bath just a few jars at a time. It will probably take quite some time to get all of the cans into the water bath and I’m just worried about how soon bacteria can/will form.
Thanks!
Hi, Keira! Welcome to canning – it is so much fun!
I can them right away generally speaking. I will also give you a little heads up, when I make huge batches, they don’t always set as well as multiple smaller batches. However, in the time it takes to process batch #1, batch #2 should be fine to sit there with the lid on, waiting for its turn to be canned. 🙂 I just wouldn’t do so many that they sit there for a few hours waiting on processing.
Enjoy your jam!!!
Daisy