
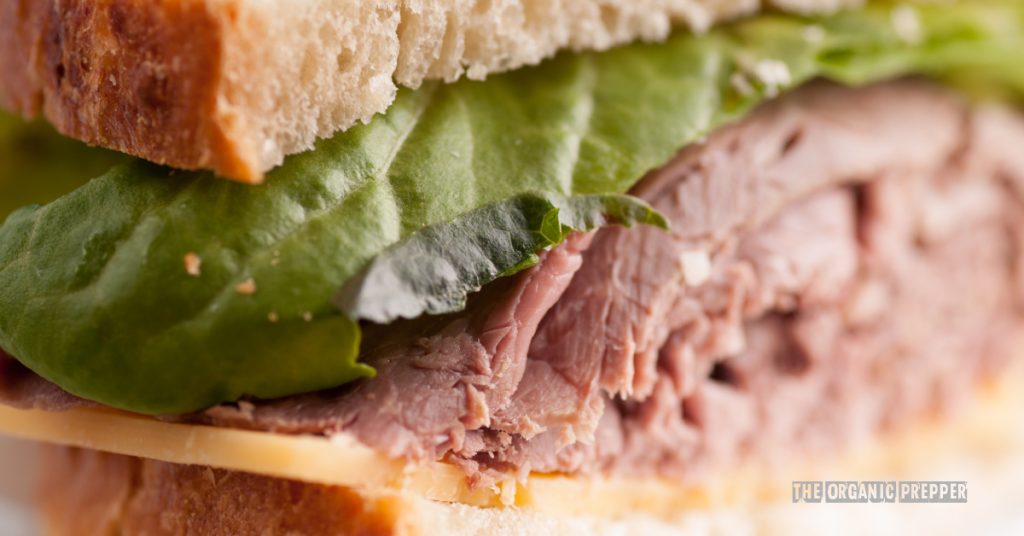
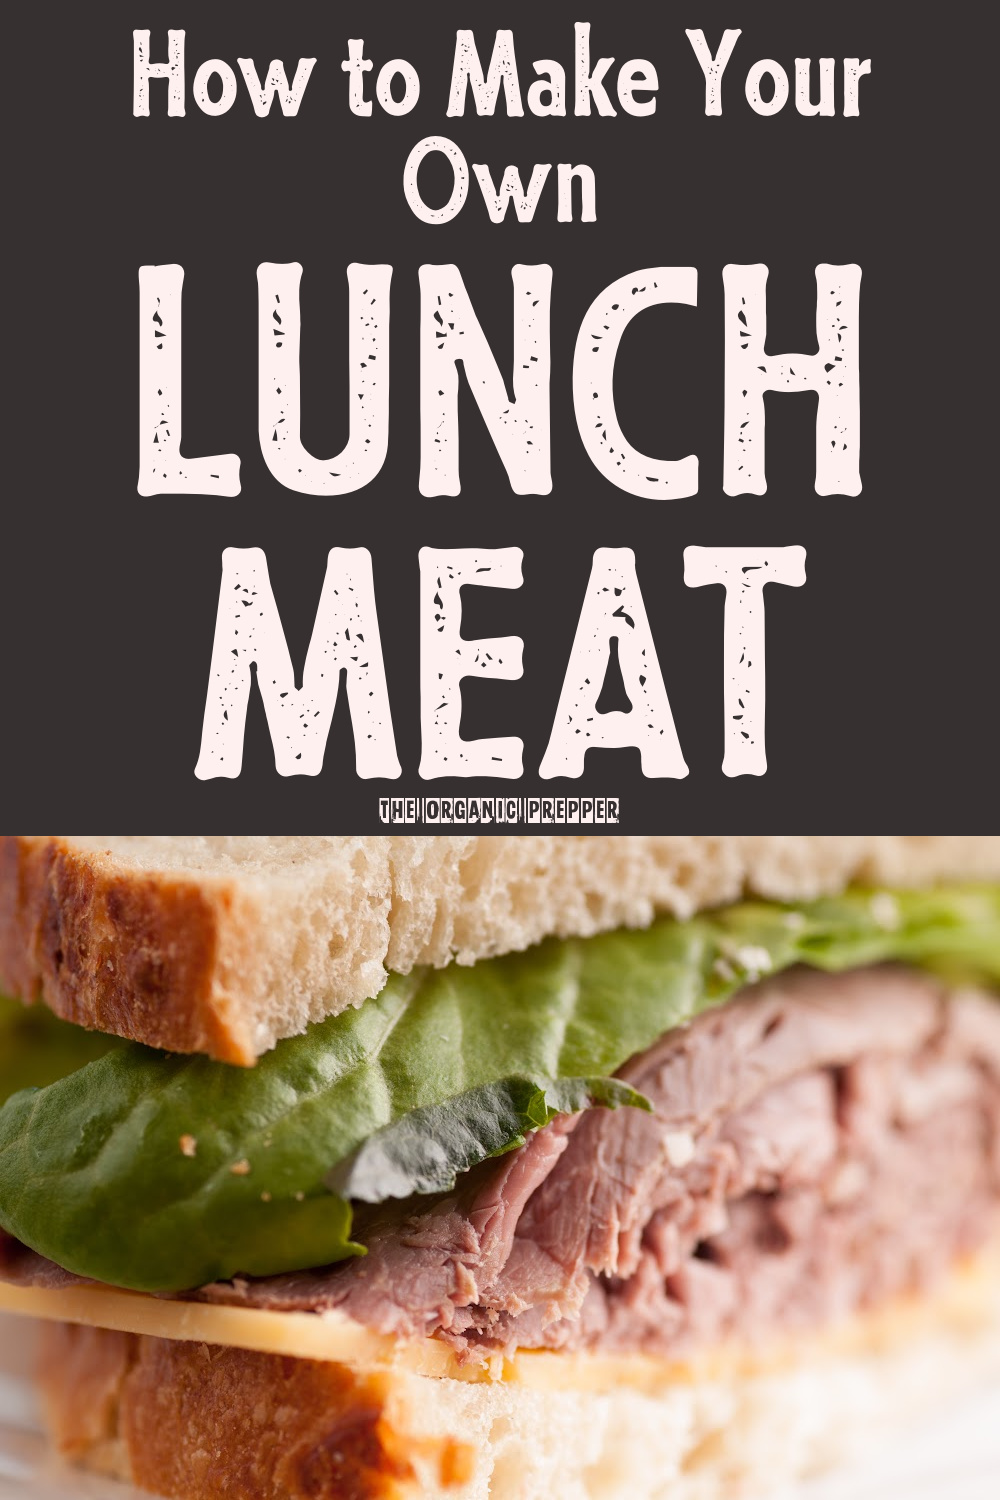
You read about it in Dear Diary, It’s Me, Jessica: Part 9. Here at the OP, we don’t just talk the talk, we walk the walk! Let me show you how you too can make your own lunch meat at home!
As we all know, inflation is hitting everyone in their pocketbooks. A few years ago, a pound of deli roast beef was going for $6.99 for the store brand and the top shelf brand was going for $9.99 a pound. Now, the store brand is going for $14.99 a pound! I don’t even want to think about what the top shelf stuff is going for. Another thing I noticed was in the pre-sliced grab-n-go case, the deli meats and cheeses are being sold in half pound portions rather then the pound they were previously. I have even read news reports some people on the lower end of the socio-economic scale were skipping meals just to make ends meet.
Meat Selection and the Power of Salt
I checked the meat case for a cheap cut of meat. Surprisingly, I found a chuck roast for $4.99 a pound. In the past, eye of round has been at or about that price, but this week, eye of round was going for $6.99 a pound. I selected a 2.59 pound chuck roast with a fat cap on one side.
Using the book Charcuterie, The Craft of Salting, Smoking and Curing by Michael Ruhlman and Brian Polcyn, (I highly recommend this book!) I made a basic brine. Brining meat does three things:
1) It changes the meat cells at the molecular level, allowing the cells to plump with water, thereby making the meat moist. You can do the same thing with turkey to prevent it from drying at Thanksgiving dinner. I have done that in the past.
2) It infuses whatever seasoning or flavors you want to add. I made the above-mentioned Thanksgiving turkey with an Earl Grey tea infusion. It turned out great!
3) The salt acts as a preservative, preventing bacteria from forming in the short term, more so than unbrined meat.
The basic brine is:
- 1 gallon/4 liters of water
- ¾ cup/200 grams of kosher salt
- ½ cup/125 grams of sugar
I took half a gallon of water, put it in a bowl, and put it in the freezer to chill while I made the brine.
The other half a gallon of water, I put into a large saucepan, mixed in the salt and sugar, and brought it to a boil, occasionally stirring until all the salt and sugar dissolved. While the brine was coming up to a boil, I took a whole head of garlic cloves, peeled and smashed with the flat of a chef’s knife, and a whole onion sliced thinly. I turned off the brine after it came to a boil, added the garlic and onion, covered it, and let it sit for an hour.
 I then put the meat in a 2.5-gallon plastic zip-lock bag and add the chilled water, then the garlic and onion-infused brine. Secure the bag and place it into the fridge for five days. I used the Charcuterie book’s guideline for corned beef as a reference for how long it takes to brine. On day five, I drained and discarded the brine, rinsed the meat, then put it into a bowl and covered it in the fridge to let the brine-infused meat rest and allow the salt to distribute into the meat.
The next day, I pulled the meat out for at least an hour prior to cooking to come to room temperature.
I used about half a head of garlic cloves, peeling and smashing them with a knife. I put them into a glass ramekin and added just enough olive oil to cover the cloves. Cover the ramekin with tin foil and bake at 400 degrees for thirty minutes. Let cool. Once cool, in a mixing bowl, add the garlic-infused oil, two table spoons of dried basil, oregano, thyme, and black pepper to taste, and mix well.
Pre-heat the oven to 300 degrees.
Heat a cast iron pan over high heat. When the pan begins to smoke, add a high smoke point oil like safflower oil, grape seed oil, or another neutral-tasting high smoke point oil. Once the oil is shimmering, add the meat and sear until a well-formed crust forms, rotating each side. Use a splatter screen—you will need it! Once seared, pull aside and allow to cool to handle with your hands.
Then, smear the garlic and oil herb mix all over the meat. Place the meat into the cast iron pan and roast in the oven for two hours for rare, two and a half hours for medium rare.
How Did It Come Out?
In a word, awesome!
On the front end, slap upside the head with the garlic, onion, and herb mix. On the back end, just a hint of salt.
I cut the roast up into three portions, freezing two and keeping the third in the fridge for sandwiches.
Next up, cajun roasted turkey breast. Might wrap and roast it in bacon just for fun!
Have you ever made your own lunch meat? What process did you use? Is this something you’d consider doing to save money?
Let’s discuss it in the comments section.
About 1stMarineJarHead
1stMarineJarHead is not only a former Marine, but also a former EMT-B, Wilderness EMT (courtesy of NOLS), and volunteer firefighter.
He currently resides in the great white (i.e. snowy) Northeast with his wife and dogs. He raises chickens, rabbits, goats, occasionally hogs, cows and sometimes ducks. He grows various veggies and has a weird fondness for rutabagas. He enjoys reading, writing, cooking from scratch, making charcuterie, target shooting, and is currently expanding his woodworking skills.


16 Responses
We are winding down operations here for the season at my little concern, so I’m processing my own hog today. We slaughtered him 22 days ago and he’s been dry aging in the cooler since then. I’m a big believer in the power of natural enzyme action for red meat. Done properly with good cooling and humidity management, dry aging a whole carcass on the rail adds so many nuances to the flavor of the meat and the texture is just melt-in-your-mouth.
Today I’m pulling the copa muscle from both shoulders for capicola, rolling a portion of belly for pancetta, grinding and stuffing two cured sausages (soprasatta, Hungarian smoked). The remaining shoulder and hams I’ll put into my fresh sausages I want, fresh spring leek, southern country and Italian.
The heart,tongue,liver,kidneys will be processed in a few months when I do my two fall hogs. I need more organs for a big batch of scrapple (liver puddin’ for my southern friends).
I concur with 1stMarineJarhead on his book recommendation and would also recommend adding Great Sausage Recipes and Meat Curing by Rytek Kutas. This book is considered by many meat scientists, butchers and chefs to be the most comprehensive and expertly presented book on the subject.
Dude, seriously, we need to collaborate on a project.
~Jim, dont have the facilities as you do to dry cure. Envious!
I will check out that book and see about buying it.
LOL! I agree!
Oh mmmmm. Do you save the head for head cheese? I remember being a kid on the farm… Mom would get every bit of meat off for head cheese, and of course, sautéed pig brain. Delicious stuff.
I have done tons of souse meat (what southerners call head cheese) and it is delicious on saltines with mustard.😁
Growing up my Mum would cook a couple of pigs feet and a hock or two. Lived in the city so no way to get a head. She added onions, celery, and finely diced carrots. Poured into a bread pan. Lovely sliced with a splash of vinegar and some crusty bread.
We have a local grocer who, with a few days notice, sells pig head. Chicken feet are always available in the display case. I’ve yet to be unable to find a fruit or vegetable. Prices on standard canned goods – fair but the not the best. Need bulk nuts, dried fruit, oatmeal – they have it.
Dry aging and curing can be done safely and economically in everyone’s kitchen and refrigerator. There are two companies I highly recommend one is the Sausage Maker in Buffalo NY, incidentally this is Rytek Kutas’s business of whose book I recommended in my OP. The other is Umaidry. Both sell curing kits for home processing and complete instructions and, in some cases, seasoning is included in the kits. I like these kits because they represent a cheap and fun way for preppers to get into charcuterie without buying big price tag equipment.
One does not even have to have their own homestead or farm to raise livestock or have their own shop. Just go to Costco and buy a whole shoulder, chuck roll, or block primal you want. Take it home, pull out your kit, best knife and cutting board and have some fun!
Price differences between geographic areas is an interesting read. Top shelf deli roast beef is still $14.99 a pound at the expensive grocery store near me.
If you have the time and can ensure nothing goes to waste, DIY is a good deal. Always pays to keep an eye out for a good sale on whole turkey (breast only rarely goes on sale) or ham.
That is actually an interesting point.
Out of curiosity, I checked for the price of store brand or economy brand roast beef from three different grocery stores in three vastly different areas:
Publix grocery store, Palm Coast FL. Publix brand roast beef, $12.99/lbs.
Acme Fresh Market, Akron OH. Best Provisions Roast Beef, $11.99/lbs.
Safeway grocery store, Sacramento CA. Primo Taglio Roast Beef, $16.99/lbs.
Has anyone used a meat press. Been debating on getting one and was hoping someone here would have some experience and opinions. Thanks.
Howdy, Kate! Dicity made a comment about a meat press you might find interesting. See the comment section in this article: https://www.theorganicprepper.com/turkey-lunch-meat/#comments
When I lived in Germany, in a small farming village, the people in the next house down (there was, and still is, a small vineyard between us) slaughtered a pig. The blood ran down the driveway and down the street. There was none of this aging, everything was taken care of that day. As soon as the sausage skins were cleaned out, they were filled with meat and sent into the house to be boiled. I don’t know what spices were added, it would be interesting to find out. The whole pig was gone by evening. They did not have a smokehouse or similar structure for curing meat.
Come to think of it, almost all the meat I remember being served in restaurants was different types of sausage. Unless you went down the street to the neighborhood butcher. The butcher expected to have everything sold out by evening, so the best choice in meats was in the morning. Eggs were bought a couple streets over at the chicken farmer. You had to bring your own containers to buy milk. Bread was fresh in the bakery. No peanut butter. Substitute cheese and Leberwurst. I expect things have changed a lot since I was there.
I was young then, and don’t remember all the details. There was a farmers’ market in the center of the village where one could get fruits and vegetables, as well as some specialty items like cheese, honey and jams. Every family in that village made their own wines.
Some other random memories from that time include that many older houses didn’t have running water. Baths were taken at a central building—on Saturdays. Nice people took baths every Saturday. On Saturdays that building had a sign “Heute Bad” (Bath today). That building was next to the stream that flowed through the village.
Pocket money for children came from going through the vineyards and collecting snails. There was a place that bought them, then sent them to France—escargots.
By the time we were there, most families had a car, even if it was only a BMW Isetta or Citroën Deux Chevaux. Most travel was still by train.
1stMarineJarHead—I wonder how much that life resembles what happens in the place where Jessica lives?
Dang it R.O. ! You are getting ahead of me! 😉
Great article! So far the only processed meats I’ve made are beef bacon and corned beef. I bought a whole brisket and used the flat for the bacon and the thick part for the corned beef. Used Morton TenderQuick and big zip-lock bags, plus my fridge, for the curing. Improvised a smoker with my gas grill, setting a foil pan of ships on the one active burner (set to low) and putting the meat over the two inactive burners. Worked great!
Hey! That is great! Glad to hear!
given the recent revelations about salmonella and listeria showing up in nationally sold deli meats and the up to $20/pound price tag, i determined i must learn to make my own. this article was very timely for me. i made a tri-tip version of the sliced beef lunch meat and it was very well received. i’ll be tackling a roast turkey breast version next. thanx for offering this to us.