
I’ve long wanted to try pemmican but in my search for recipes, I found ‘virtual tons’ of them. After having the time and making the effort to weed through them all, I finally decided on a simple recipe for my first try.
While there are lots of ingredients that could be added, it’s important to remember that the more items you add to your pemmican, the shorter the shelf life.
(If you don’t want to make your own, here’s some pemmican you can buy that is already made and ready for your bug out bag.)
What is pemmican?
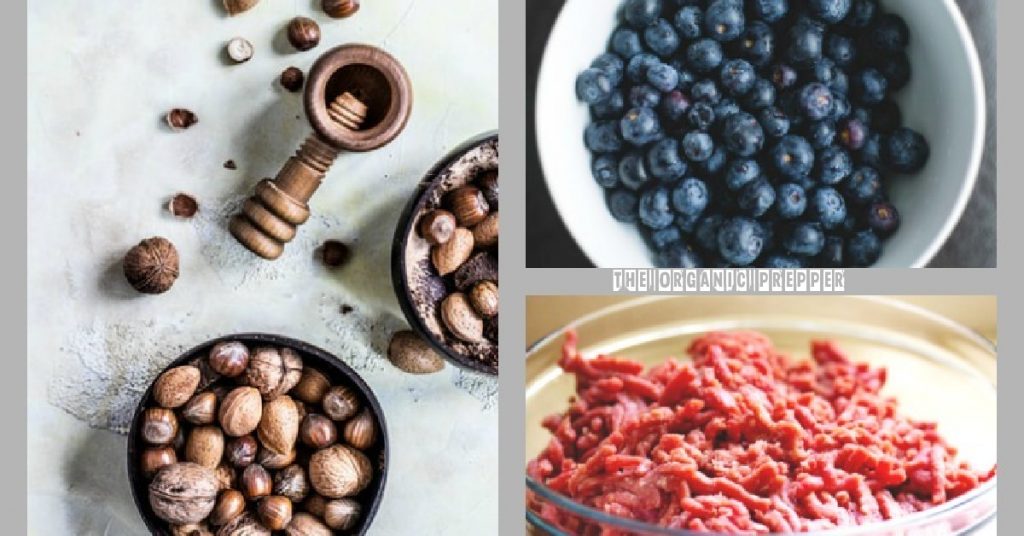
Often referred to as the ultimate survival food, pemmican is a combination of meat, fat, and berries that can be stored for extended periods of time.
The basic ingredients for pemmican are dried meat and rendered fat, or tallow. I also found additional ingredients that some people added, and they were separated into two groups – wet and dry. Wet consisted mainly of things like honey, peanut butter, or maple syrup. I’m assuming the honey and maple syrup are considered because, in their natural unprocessed state, they last pretty much forever.
The dry ingredients that I found included dried raisins, dried blueberries, seeds, nuts, dried cherries, and dried cranberries. Of those, the most common addition was dried blueberries so I went with that. And then, of course, the dry lean meat.
According to Britannica Online, in an article written by John E. Foster and Daniel Bairdack, Pemmican was originally made using Bison, moose, caribou, deer – whatever they had, and though the name “pemmican” was from the Cree (Pemikan), some say this power food was obtained from the Chipewyans in the Athabasca region by a British explorer named Peter Pond. Whatever the true case, I’m convinced the creation and utilization of pemmican were first done by the Indians of North America.
Here’s what you need to make pemmican.
In my world though, I usually only have cows for red meat, so that meant a trip to the grocery/butcher. Which was alright because I don’t usually keep blueberries in the house either. Bison is very lean though, as is moose, so I had to find the leanest beef I could. That’s typically an Eye of Round/Silverside roast or steak. (It looks like a large tenderloin in shape but it’s bigger and tougher.) And it’s typically pretty rough on the pocketbook. With a small amount of lean beef and some blueberries, I set about to make the pemmican.
I need to note here that it is completely alright to use ground beef instead of the steak I chose, and many people do. I would suggest you not use ground chuck, but a leaner ground beef instead. Just don’t think that you can’t make this stuff without a lot of money because that’s just not true. You don’t even need the blueberries – just dried meat and tallow.
The first thing I did was realize my food processor was too big for what little dried beef I would have. So I sent my husband back to the store for a small blender that could crumb and crush (you can crush it by mortar and pestle or with two rocks, but my mortar and pestle is waaaaay too tiny, and I didn’t relish the thought of using two rocks and ending up with little gravelly pieces in my mouth). While he was gone, I took the three pieces of eye of round steak and put them in the freezer for easier slicing later.
Prepare your ingredients.
In the meantime, I washed the blueberries, patted them dry, and put them in the dehydrator on 140’. A few hours later the beef was ready to carve, but I decided to completely dry the blueberries first. I didn’t want to cook them, just dry them, and I would’ve had to turn the temperature up for the beef strips, which could potentially cook the blueberries. I also didn’t want ‘blueberry leather’, so I let them dry all night. Once the blueberries were ready, I removed them from the dehydrator. I’d put 2 cups in and ended up with less than a ½ cup dried. But they were nice and dry. ????
If you don’t have a dehydrator, you can simply use your oven just as easily. Rinse the blueberries and let air dry or pat dry with a paper towel, then spread them on a cookie sheet lined with parchment paper and bake the blueberries for 3-4 hours at 225 degrees. After they’ve cooled, store them in an airtight container.
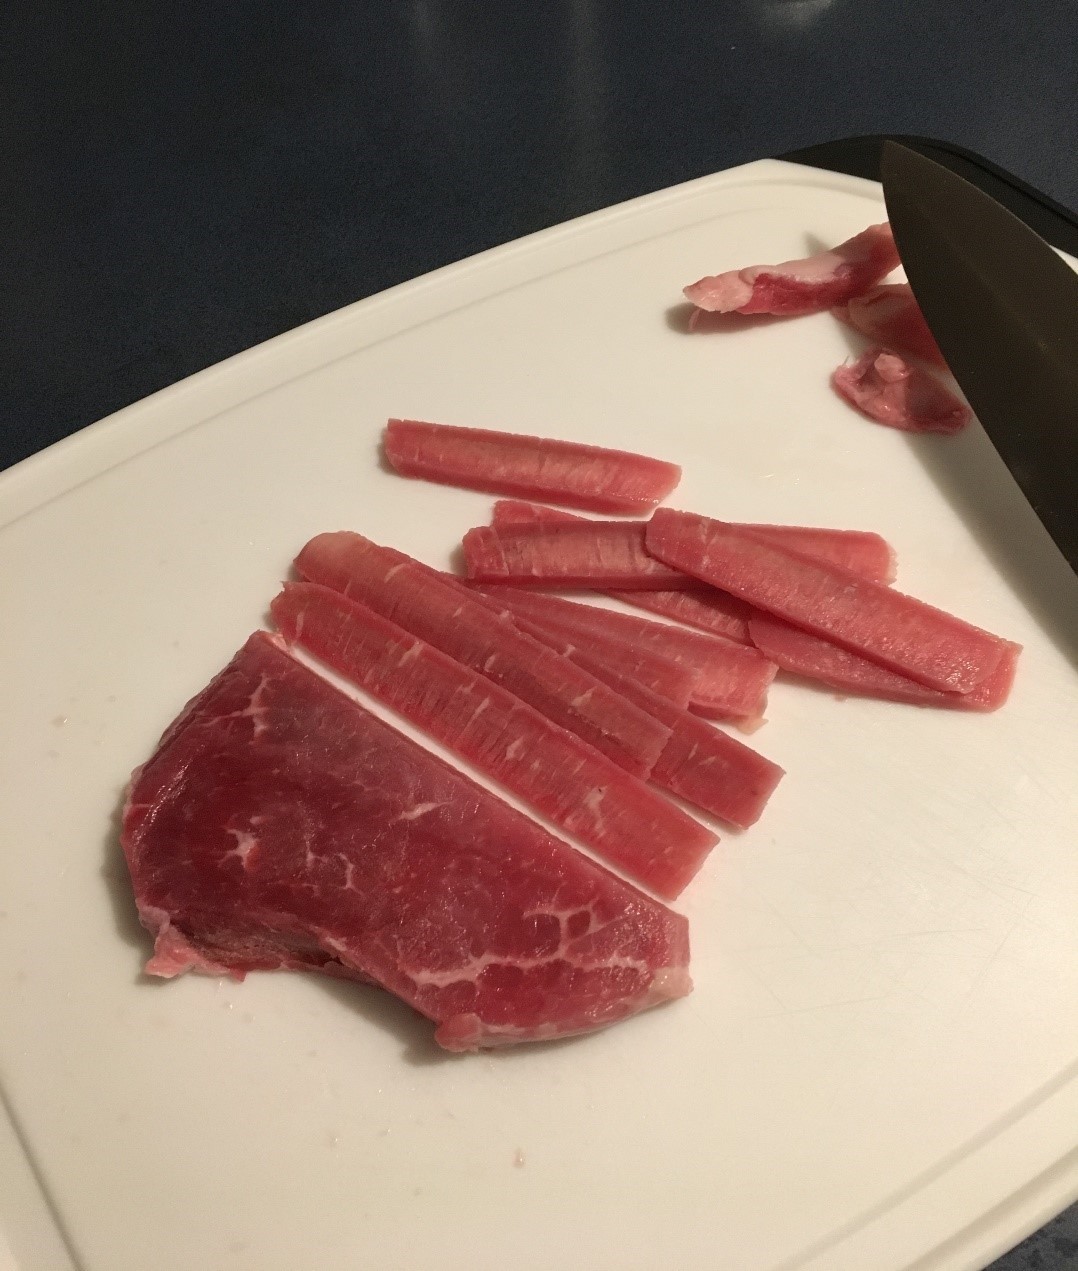
Moving on to the beef, I pulled the package of eye of round steaks out and, after washing each piece, I slowly started to carve very thin slices until they were all done, which was relatively easy to do since they were frozen. After heating them in the oven at 170’ for an hour (I wasn’t taking any chances), I removed them and placed them on the dehydrator trays. Then I stood there looking at the trays. They were ready to go into the dehydrator, but my brain simply could not understand how plain dried meat could last for so long without some sort of preservative.
My dehydrator goes to 165’, and E.coli is killed at 160’(3), so I wasn’t worried about that part, but what kept it from spoiling? Salt? The recipe didn’t call for it. Regardless, those beef trays were going to stay in there until the slices snapped because I wanted them extremely dry.
Again, you don’t need a dehydrator for this, either. Using cookie sheets, baking dishes, or even foil, lay your beef strips on them (do not overlap the pieces) and put them in a preheated oven of 200’. Leave your oven door open about 2 inches or so to allow moisture to escape, and start checking your beef in about 2 hours. When the strips break, almost crumble, not bend, between your fingers, they are dry enough. If you’re using ground beef, fry it up in a skillet or pot, drain any grease (or press grease out of it by squeezing it between two paper towels) and scatter it as evenly as possible on your cookie sheets/baking dishes. Don’t let not having a dehydrator stop you!
I did more reading regarding the pemmican as the beef strips dried in the dehydrator. I was curious about what kept the pemmican from going bad. What kept the fat from going rancid? What kept the botulism spores, which aren’t killed in the drying process, from growing? Botulism is rare in comparison to other food born illnesses, but deadly, and grows in an environment with low acid, no oxygen, no sugar, no salt… And there are many different kinds. And what about Salmonella?
I was surprised by what I found out. It seems, way back in the past, pemmican was made and placed in buffalo or animal hide pouches, then the hunters would take it with them on the hunts. But it didn’t appear that the ‘survival food’ was made to keep for years, which made sense because even today it’s imperative we use salt in some form to make jerky with a shelf life (in my trials anyway) of 6 months max. I had yet to find an article that dared to claim, with any real hard sources, that pemmican lasts longer than a few years, even in optimal storage conditions. One site admits that the shelf life for pemmican is highly debatable, stating that 3-5 years at room temperature is probable. What is defined as room temperature? The little faith I originally had in this ‘awesome superfood for Preppers’ was fading fast.
And then I found Rubaboo, and things started to make a little more sense. While the pemmican is probably safe if stored properly for a while, It could also be cooked as well, meaning it’s possible that even if there were bacteria on it cooking may have killed it. Rubaboo is a soup made with pemmican (probably the base recipe of just dried meat and tallow) and various vegetables. Pemmican can also be fried as it holds plenty of fat all by itself, and I can see throwing some onions and potatoes into the iron skillet with it. If berries and honey were added to the base recipe I suspect it could be a type of sweet & sour treat as well. This was a concept I could understand because cooking it, especially in a soup, would kill many bacteria. Maybe it wasn’t always eaten as a hard ‘cookie’ or ‘blob’.
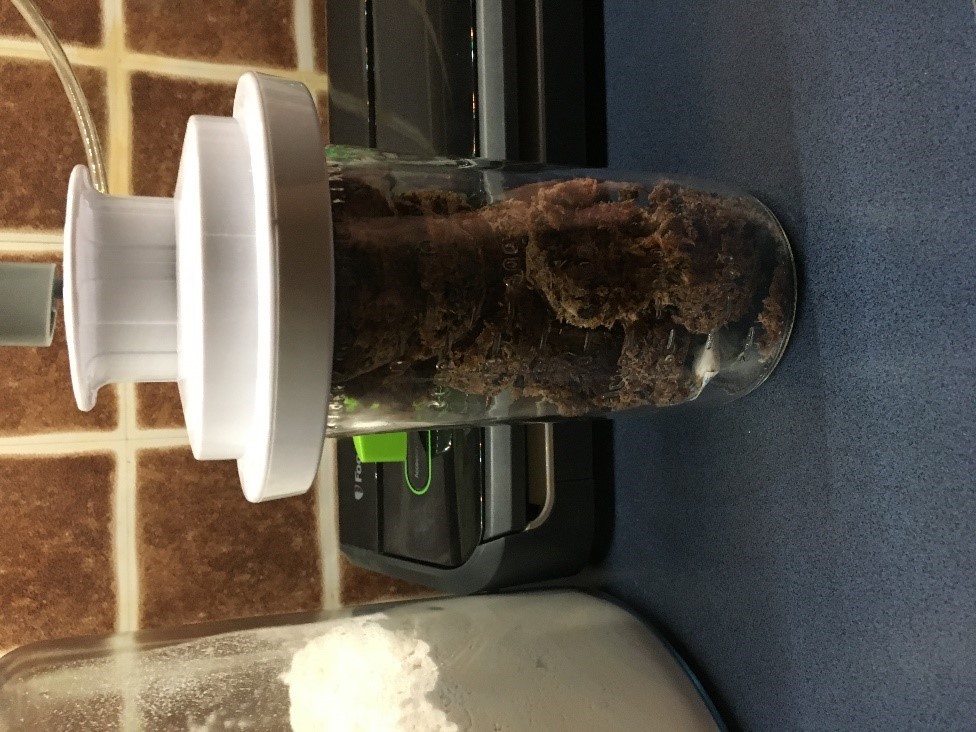
The following day, after approximately 20 hours of dehydrating (I really wanted that meat dry!), I pulled the slices of beef out, anxious now to mix the pemmican up and taste it. To grind up the beef, I rolled each mesh liner and let the beef strips slide into the blender while it was off. Without pushing them down or breaking them, I ended up with almost more than the blender could hold. But now I had to pulverize them into what looks like a cross between sawdust and fluff. Putting the cap on, I pressed the “Ice” button. And it was LOUD. In just a matter of minutes though, the beef strips had been reduced to small pieces, and I was pretty pleased. It wasn’t quite done yet, though, because the pieces were still too large.
Using the pulse button this time, I kept grinding down the beef strips until I was finally done (it really only took maybe 20 minutes max to grind that all down – not long at all.) I opened the lid and was excited. Inside I had my new creation. “Beef Fluff”! That stuff was lighter than air!

After playing with it for a few minutes, and removing any pieces that hadn’t been completely demolished, I realized I had only about 1 ½ cups of beef powder, so I needed, (according to some recipes – there are so many!) about ¾ a cup of melted tallow. After putting some tallow in a pan to melt, I dumped the dehydrated blueberries in a now freshly cleaned (and dried!) blender and ground them up.
(Here’s how to make your own tallow.)
It’s my personal opinion that, after seeing such a vibrant and beautiful dust come from grinding those dried blueberries up, blueberries should be called ‘Violet’. The color was absolutely gorgeous – so much so that I forgot to take a picture of it. The lid of the blender is black, and the contrast of blueberry dust on the inside of the lid was very striking. For those who don’t know, I promise you; it’s not blue, it’s a vivid violet.
With the beef ready, the blueberries ready, and the tallow melted, it was time to make the Pemmican. Below is the recipe I used.
Two parts Beef – I had 1 ½ cups dried beef powder
One part Tallow – I measured out ¾ cup
Dehydrated Blueberries
Mix well and press into a casserole dish to cool. Once cool, cut into bars.
Apparently, there is no real measurement restriction to added dry ingredients, so I poured the beef back into the blender, mixed the blueberries and beef together really good, then poured that mixture into a mixing bowl, and the ¾ cup tallow into the mixture. Now it was time to mix that all together. The common consensus is if your dry mixture is too dry, add more tallow.
Throughout most of this recipe, I used food handlers’ gloves because I always worry about bacteria and germs – especially with food that might be consumed when hospitals may not be available. However, there just comes a point where you have to get your hands down into it to feel what you’re doing. So, after washing my hands thoroughly, I dove in. The trick, it seemed, was in making sure you have enough tallow for the mixture to form a shape, but not so much that it pools in the bottom of the bowl. I ended up adding two more tablespoons of melted tallow before it felt like I had good forming pemmican.
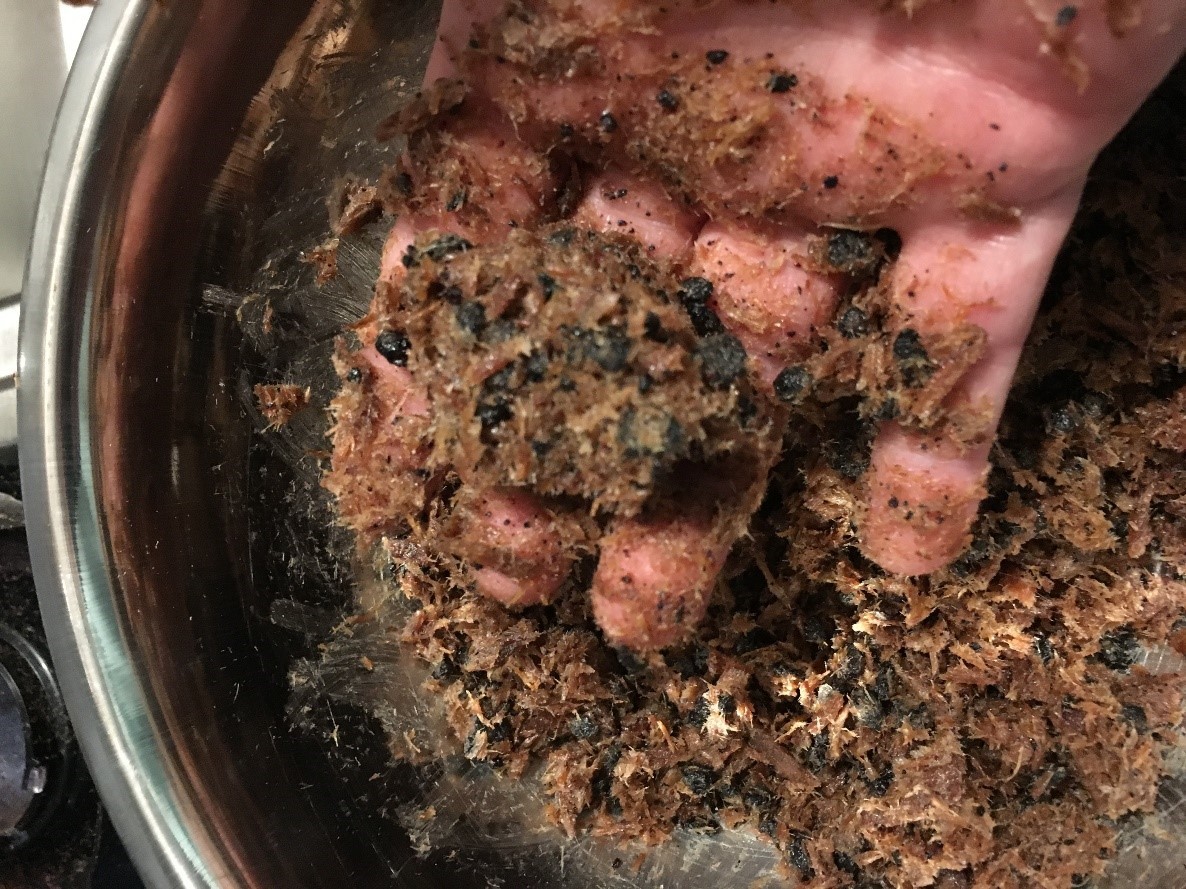
Mixing this up was quite a unique experience. The dried beef powder soaked a lot of the tallow up, but in doing so it revealed that it wasn’t as powdery as I had thought. Well beyond shredded; yes, but not totally powdered. The blueberries also soaked in some of the tallow but they still remained quite hard while I was mixing.
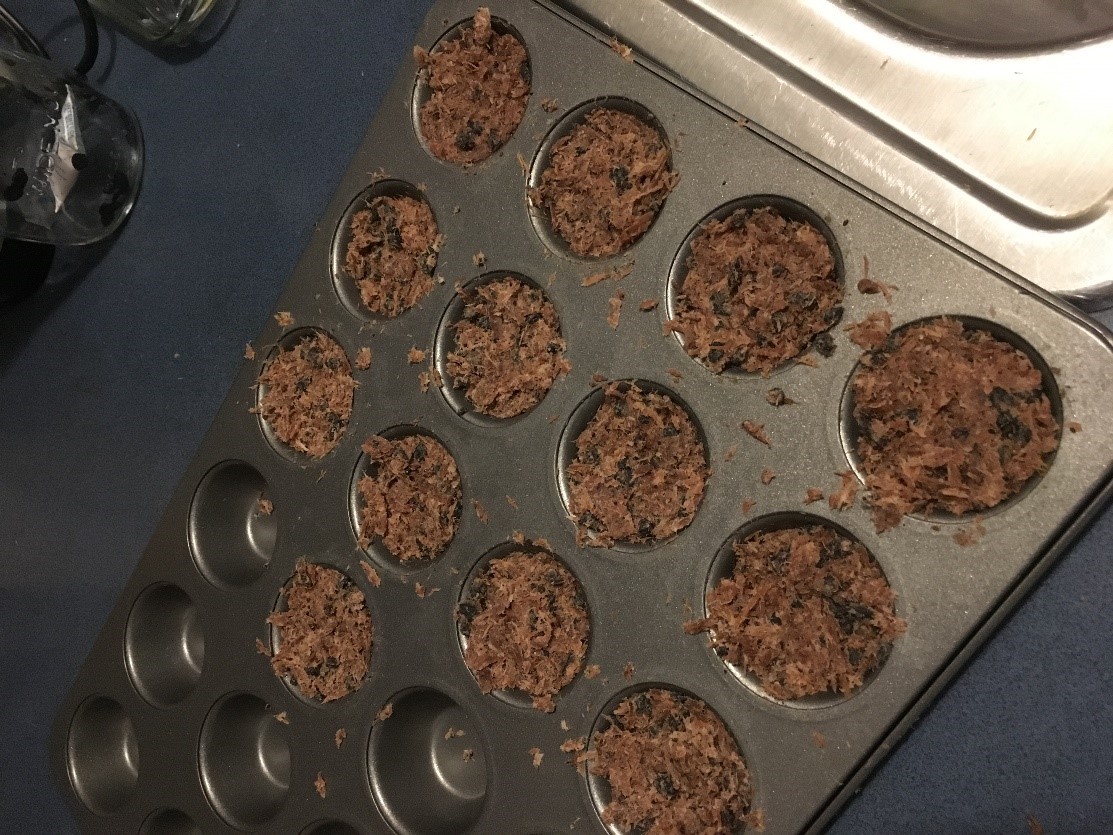
Once it was all mixed together and held form when I squeezed it, I decided to make little muffin shapes because I didn’t quite have enough for a casserole dish. Using a mini muffin pan, I pressed balls of the Pemmican down into the cups until the bowl was empty. At this point, it was a bit crumbly, but I didn’t want to add any more tallow for fear it would be nothing but grease when it was done, so I pressed it down again nice and tight. I was anxious to taste it, but, to be honest, it didn’t smell very good. I covered the whole pan with a clean dish towel and left it sitting for about an hour.
An hour later, the little pemmican ‘muffins’ came out easily and not as crumbly as I thought they would be. Pretty pleased again, I squeezed one lightly between my finger and thumb, and it held the pressure quite well. I filled and vacuumed a pint and ½ jar with the pemmican, but left one piece out for a taste test. The jar wasn’t much to brag about, but I’d successfully made my first batch of pemmican.
I’m not quite sure what I expected when I finally bit into the piece I’d kept out. I’ve had beef jerky before, with different seasonings, and some of it was good, although I could easily (and do easily) live without it. But this… If I had to choose between pemmican and ten-year-old jerky, I’d be sorely tempted to risk the jerky. I just didn’t like the smell or taste of it. It reminded me of dry dog food/kibble. There was also no blueberry taste. My husband, however, thought it “would do in a pinch,” meaning he’d gladly eat it if he needed the energy. He also likes jerky, though. Maybe it’s an ‘if you like jerky you’ll like this’ kind of thing?
All in all, I wasn’t entirely disappointed. I learned how to make basic pemmican, and I found out I didn’t like the taste of it. But the basic recipe is simple, as I mentioned earlier; Two parts meat and one part tallow. You can add dehydrated fruits like blueberries, cherries, even pokeberries, and you can add honey and peanut butter.
I hope this article was of some use.
What do you think?
Have you ever made pemmican? If so, are there any tips or tricks you can share? If you have never made it, are you going to give it a try? Please share your thoughts in the comments.
About Sandra
Sandra is a published artist, photographer, fellow prepper, and animal advocate.


6 Responses
Hi – Great article. But I’m wondering about including poke berries. Our family uses them, but for medicine only, and we have been taught to be very careful with them. We dry them and swallow them whole at the first sign of a cold or flu, and they usually work to ward it off. But we have been warned to NEVER chew them. The seeds are poisonous. If you swallow the dried berries whole, then whole seeds go through your digestive tract, and just enough of the toxin (the medicine) leaks out to ward off the virus. Chewing them would release way too much and make you sick. I can’t imagine how anyone would avoid ingesting the poke seeds and keep from chewing them if they were included in pemmican!
I strongly advise against using pokeberries in pemmican – the risk just isn’t worthwhile.
Beef is too expensive. i want to make beanican instead. I will take completely cooked beans, blend them until smooth and then dry them on my roof top. (This will have to wait until summer.) Then I’ll mix the bean powder with tallow (if i can get it) and some ground and dried berries. dried cranberries are reasonable. When everything is nice and dry, I’ll combine it, form it, and see how long it lasts. I won’t make more than a month’s worth. I wonder if all that beef fat will give me a heart attack??
YIKES! I would NEVER ingest poke berries. They are considered toxic to humans. That said, you go ahead and do you! Elderberries are a much safer way to cure a cold or flu, as they are not toxic when ripe, and they grow in the same environment.
I appreciate the article, having wondered the same myself. Thank you for breaking it down so simply. Funny isn’t it, how our Native predecessors commonly lived on this without ill effects and without modern sanitation.
I dry a lot of foods. I keep several small coffee grinders to powder a wide assortment of things. It works well and a couple run off of USB cords to charge them. Perfect with my many solar powered experiments.
Pemmican I made more palatable with dried pink grapefruit juice and soy sauce both powdered.
It’s still survival food. It wasn’t intended for enjoyment at regular meals. It will keep quite a while but eventually fats get rancid. But that takes heat and a long time for natural fats.
And I do like jerky very much. From simple sun dried venison to marinated and highly seasoned jerky, I like each one.
The raw unseasoned venison is wonderful used in a native stew made here. It has wild greens, minute wild beans, pinion nuts, wild chili tepines, juniper berries, a tiny spring of juniper that tastes much like rosemary, and steamed corn on the cob that is dried and kernels added to soups and stews. I sometimes add my dried diced potatoes as well. The salt mined here on the desert is slightly lower sodium but we love the taste. Add a bit of salt to taste.
My husband made it once, but I had no idea what to do with it and ended up throwing it away after a few years. I really want some ideas for how to use it and make it taste good before he decides to make it again.