
Paracord can be used to create a ton of different projects and functional accessories. A paracord bracelet is one of the easiest and quickest projects to make, but depending on the design you use, it doesn’t always provide a whole lot of cordage. I want to share with you a functional project that I enjoy making that will provide more cordage than a simple bracelet does: the paracord lanyard.
The lanyard I will be making is not the kind that office workers wear to display their employment badges. It’s more of a lanyard that a hunter uses to hold duck calls or other types of wild game calls. I like this type of lanyard because you can hang almost anything from it that you want quick access to.
What You Will Need
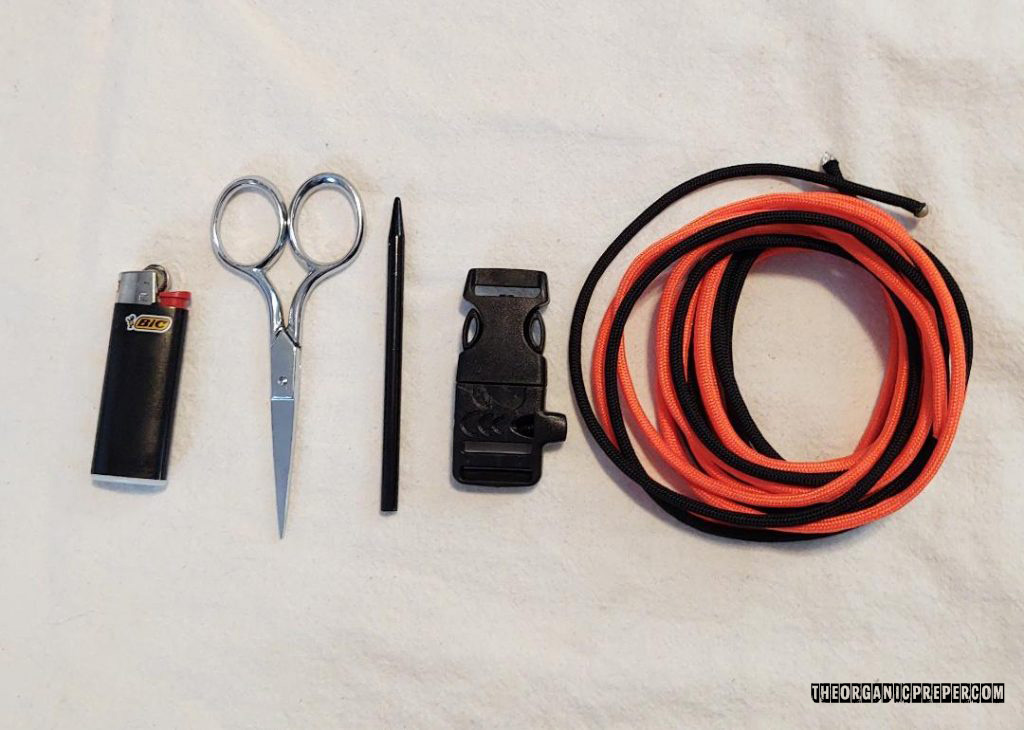
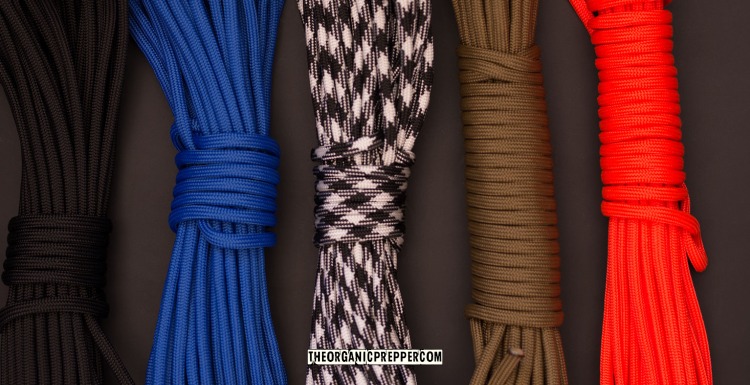
- 2 pieces of paracord that are 10 feet each in length (for a total of 20 feet). This will produce a lanyard that is 36 inches long. Personalize the lanyard by using any color you want.
- 1 plastic buckle or break-away clasp
- 1 lighter
- Scissors
- Paracord lacing needle (or any pointed item like a nail or knitting needle)
Making the lanyard
I will be using one strand of paracord that is black and one orange strand. You can use any colors you want, but I am using these so that it will be easier to follow the illustrations.
Also, the main body of the lanyard requires 20 feet of paracord to produce a finished lanyard that is 36 inches long. This does not include adding loops for hanging items, so be sure to have extra cordage of the same color so that loops can be added at the end. It’s always better to use more cord than you think you will need.
Step 1.
Thread one end of each paracord strand through the plastic buckle.
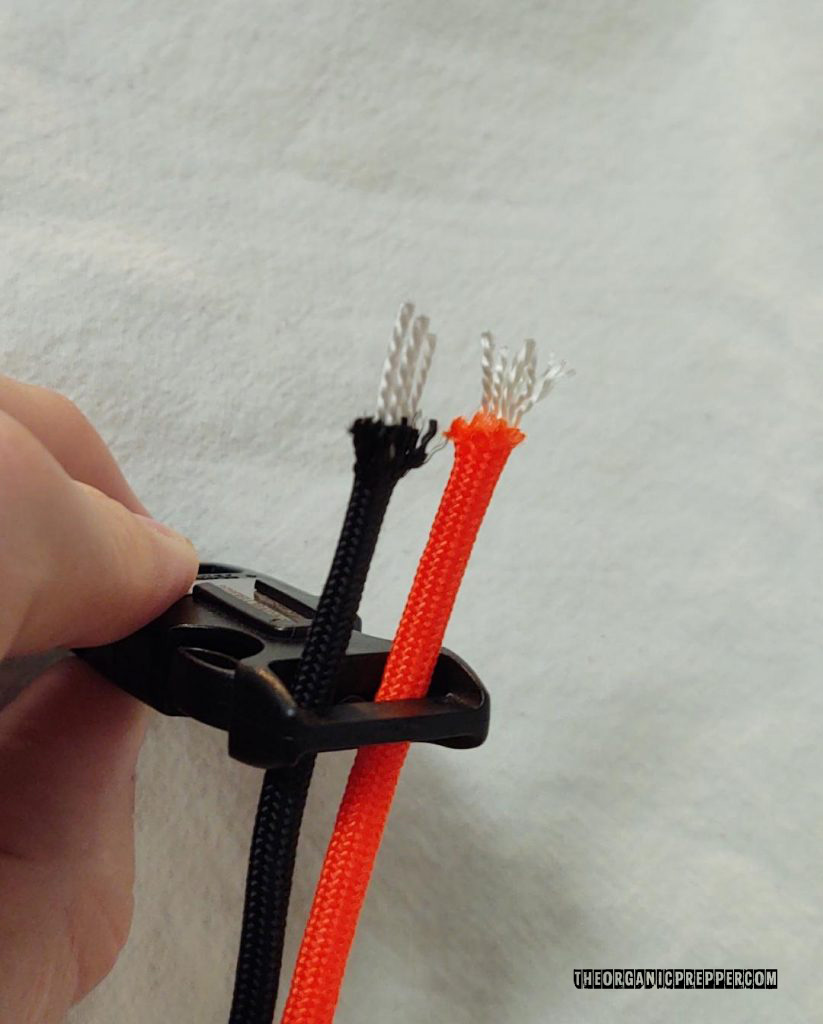
Step 2.
Pull the ends through the buckle and match them up with the opposite ends of the strands. This will fold the paracord in half so that the midpoint of the strands is on the end of the plastic buckle.
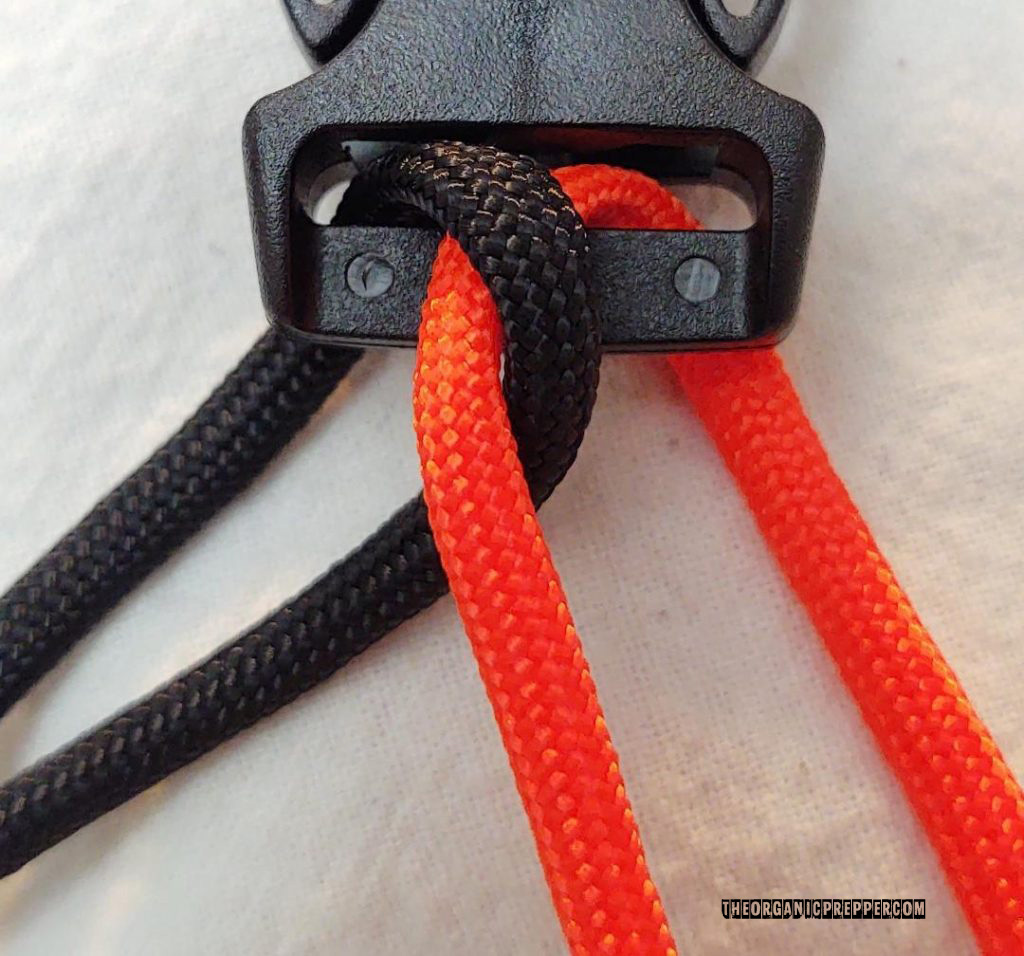
Step 3.
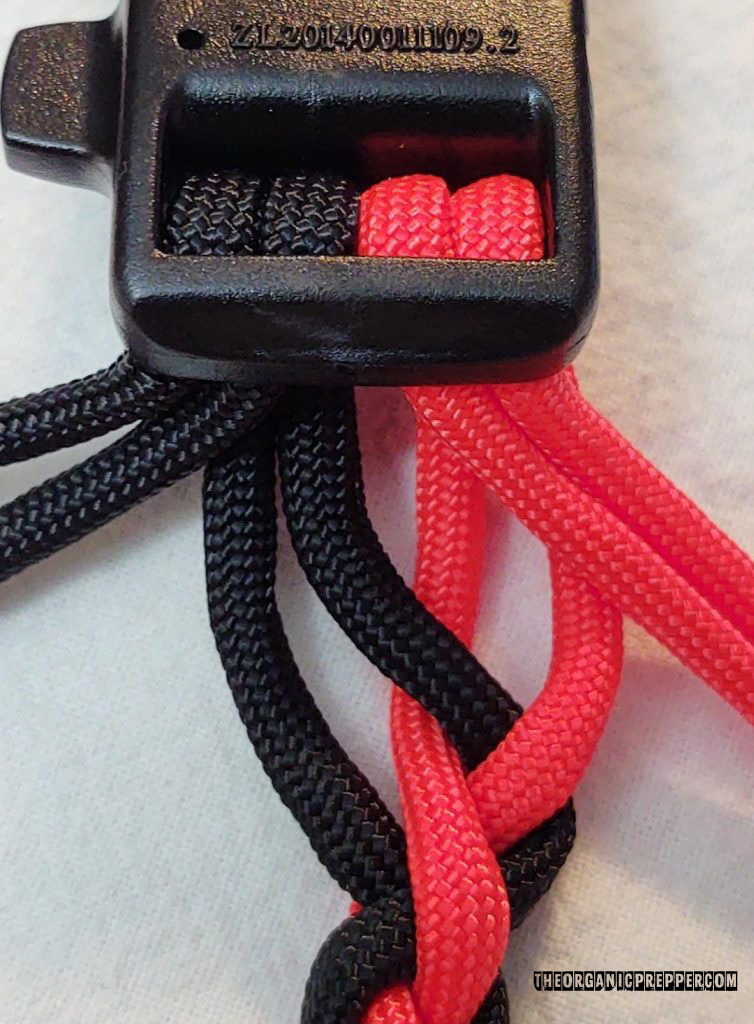
Thread the right black strand over and behind the black and orange strand, and pull the strands to the side so that it looks like the picture.
Step 4.
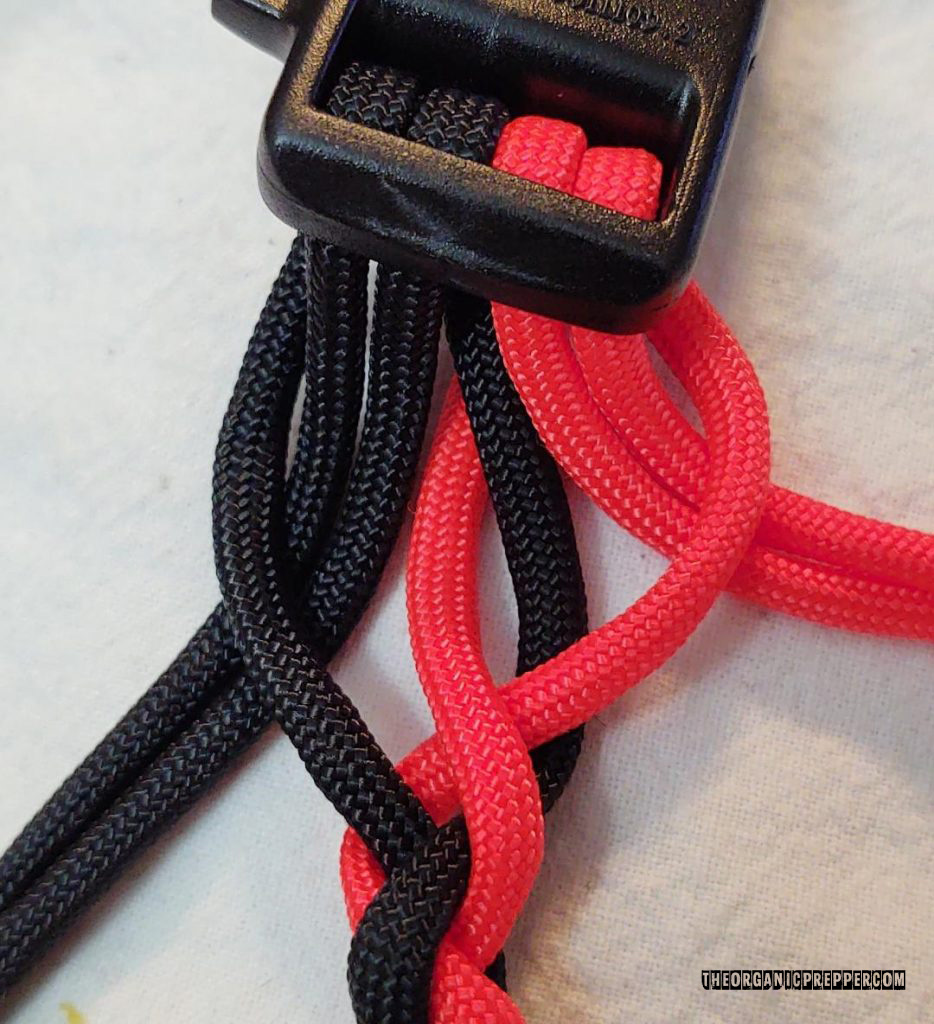
Bring the top left black strand behind the left orange strand and up through the middle of the other three strands.
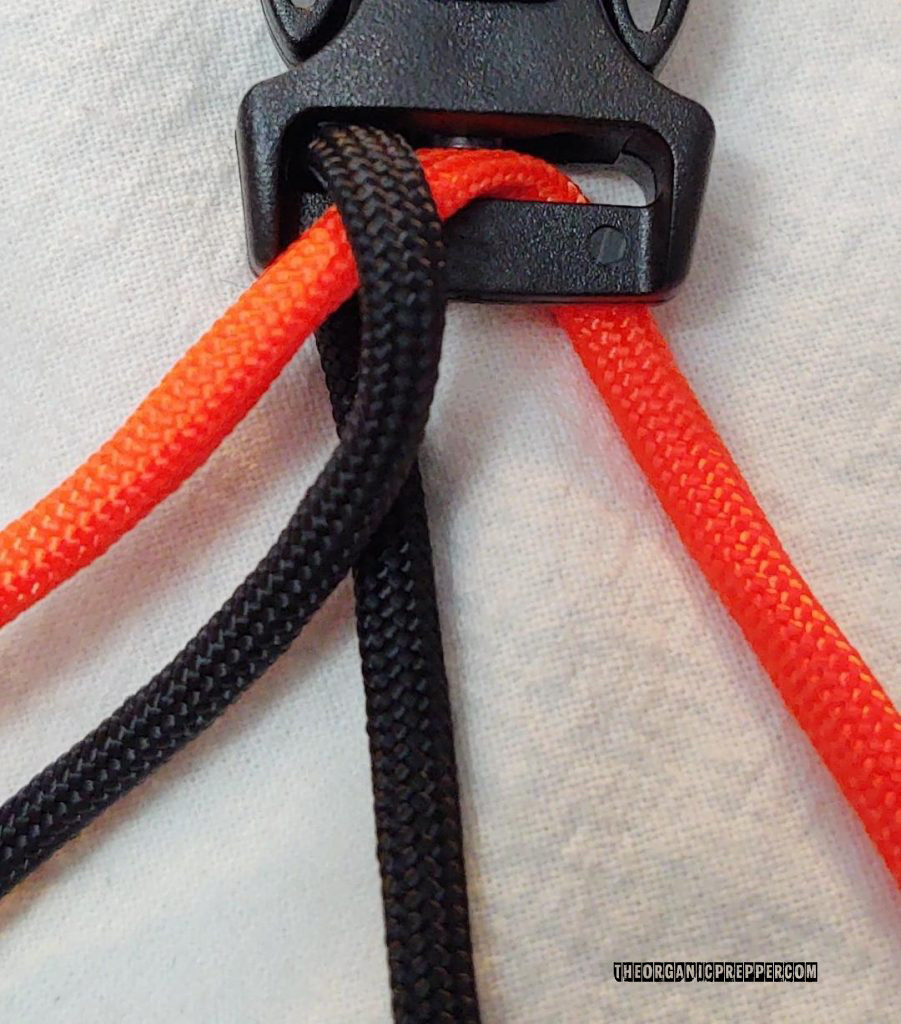
Step 5.
Bring the previous black strand up between the orange strands and to the left.
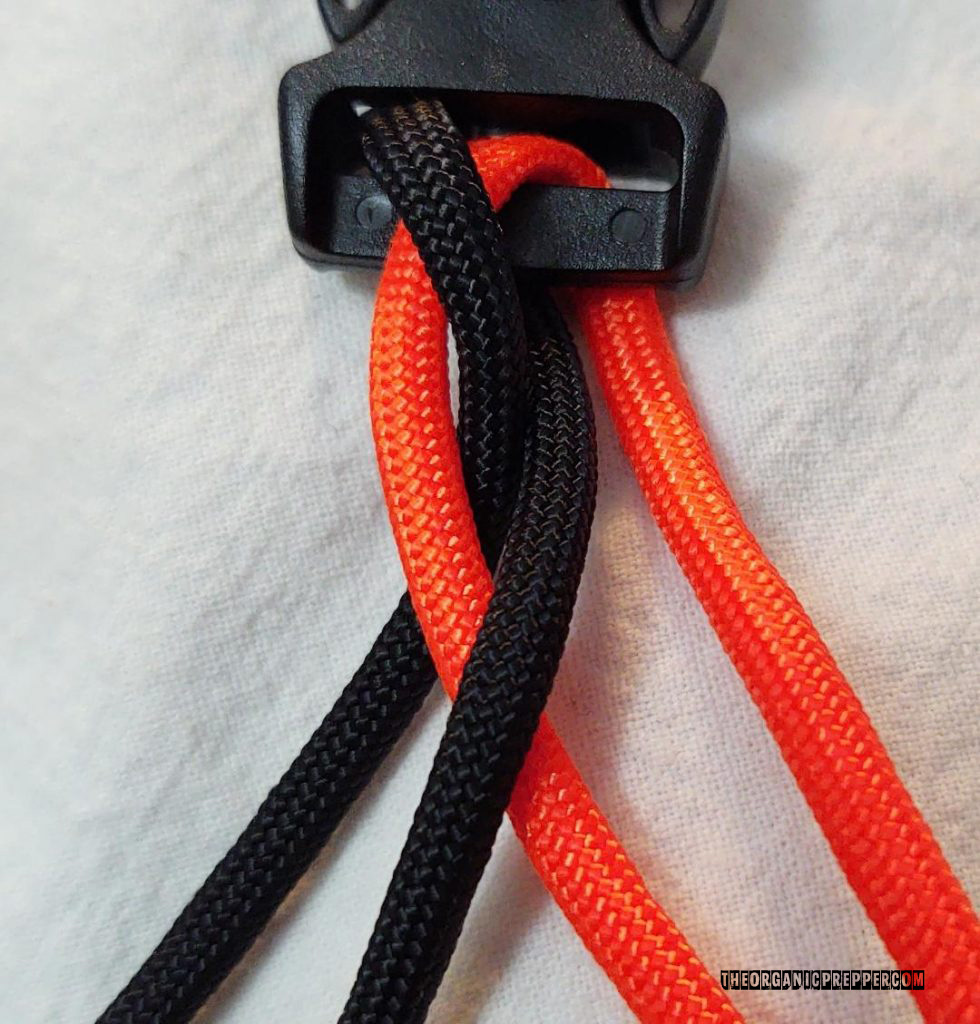
Step 6.
The above three steps are repeated with the orange strands on the right. Bring the top right orange strand down, behind, and up through the middle between the other three strands and pull it to the right.
When you are done pulling a strand up, through the middle, and off to the side, the two strands of the same color should be on that side. Pull the stands taut after each pass.
I started with black on the left and orange on the right, so after one finished step of weaving, the two black strands should be on the left, and the two orange strands should be on the right.
(If you like this form of high-quality content The Organic Prepper provides, make sure you check out our free QUICKSTART Guide to canning as well.)
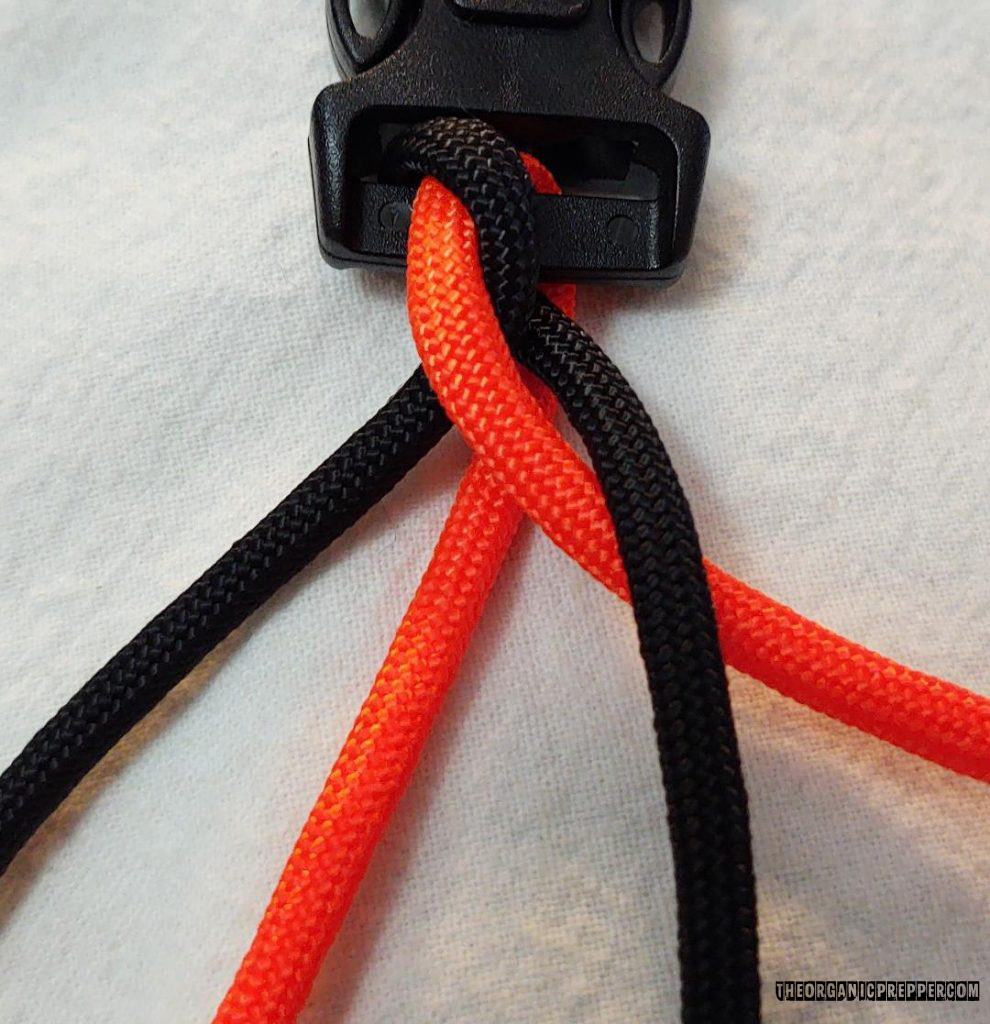
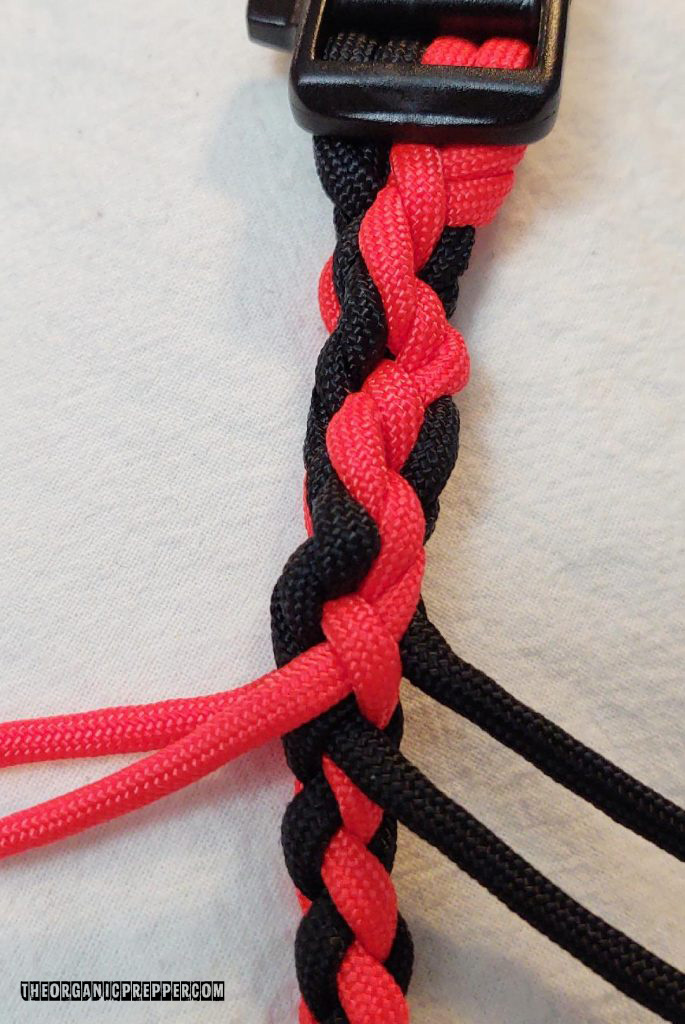
Step 7.
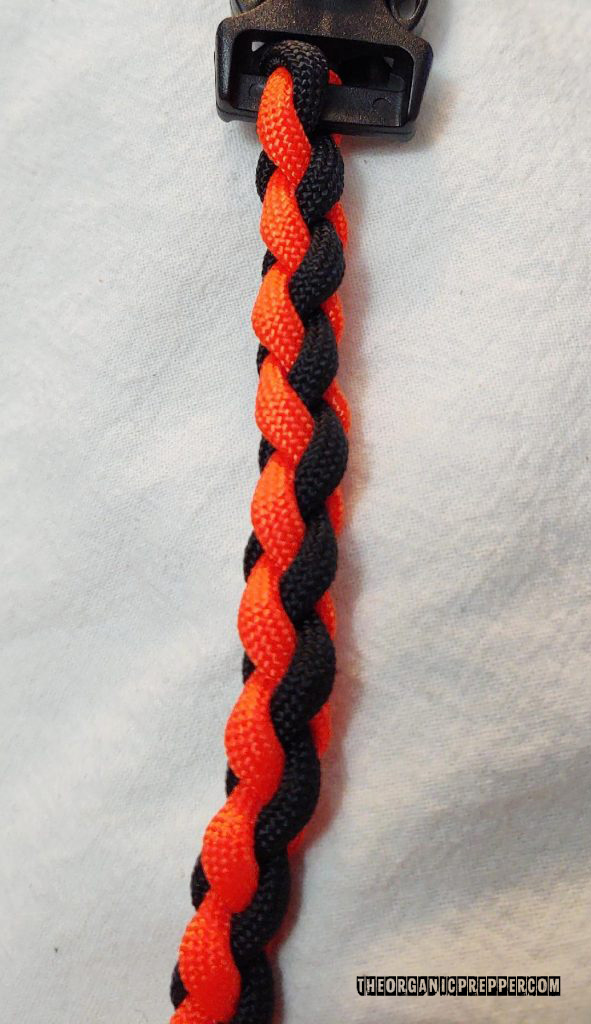
After repeating the above steps several times, the lanyard should begin to look like the picture. Repeat the braiding process until it reaches 36 inches long, or the length you desire.
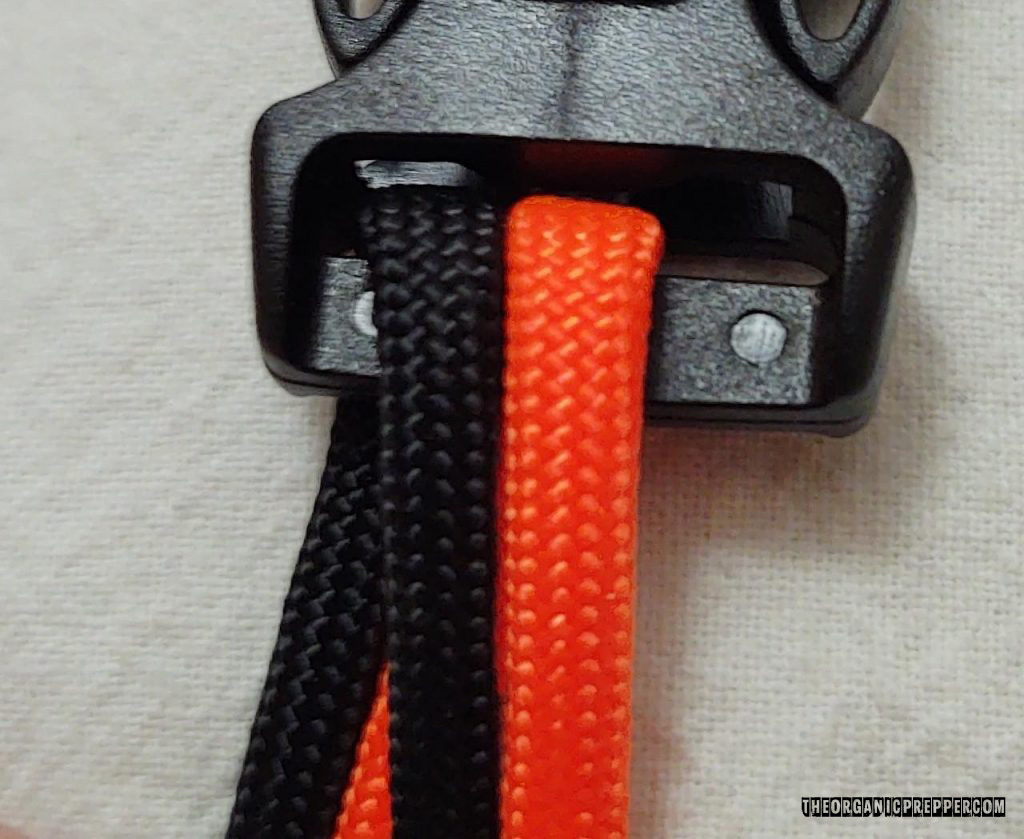
Step 8.
Once you reach the desired length, pull all four cut ends of the paracord through the opposite end of the plastic buckle, but leave some slack between the end of the braids and the plastic buckle. Keep like colors to one side (black is on the left and orange is on the right)
Step 9.
Pass the cut ends of the paracord through the openings between the plastic buckle and the end of the braid. Again, keeping like colors together (black ends should pass between the black opening, and the orange ends should pass between the orange opening)
Step 10.
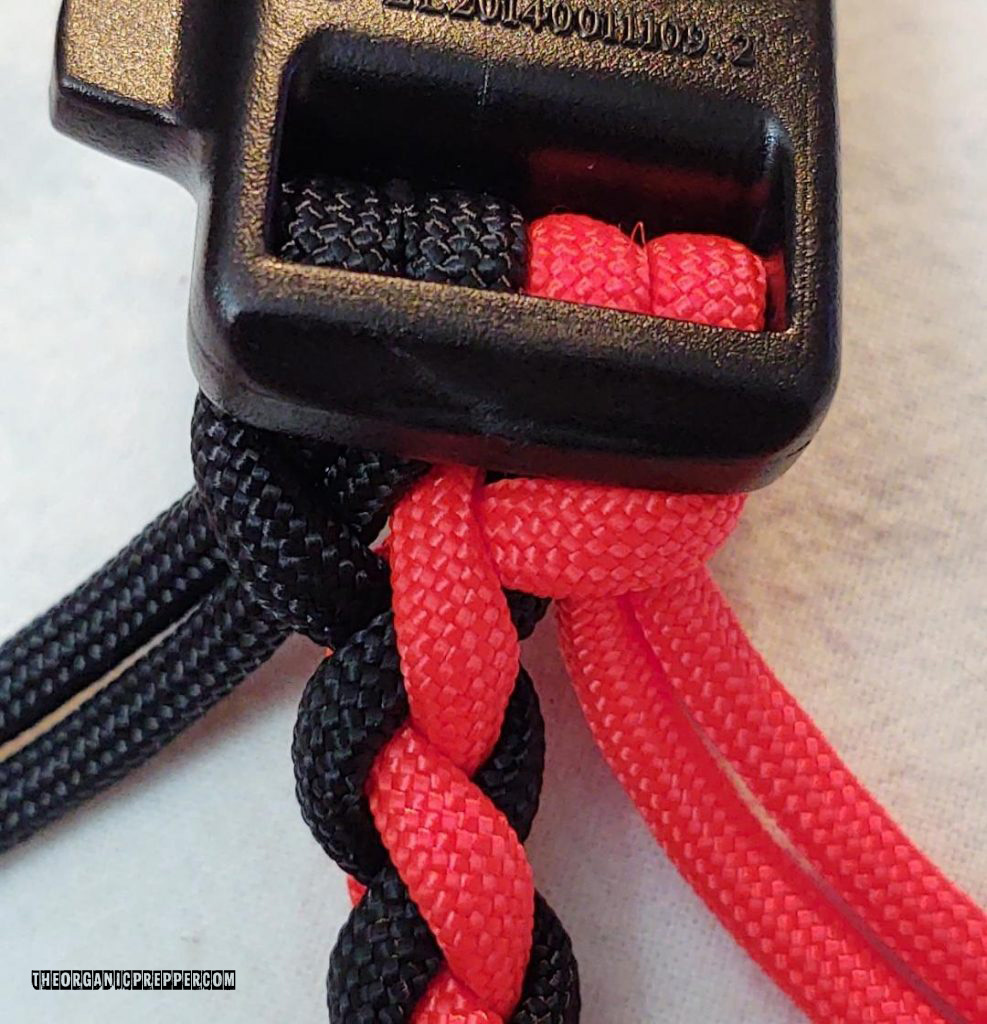
Now tighten everything up by moving the end of the braid close to the end of the plastic buckle and pulling on the end of the black strands and then the orange strands.
Step 11.
Attach a paracord lacing needle to one of the black paracord ends and insert the needle under the first black arch of the braid. Pull the needle and the black cord through but don’t over tighten.
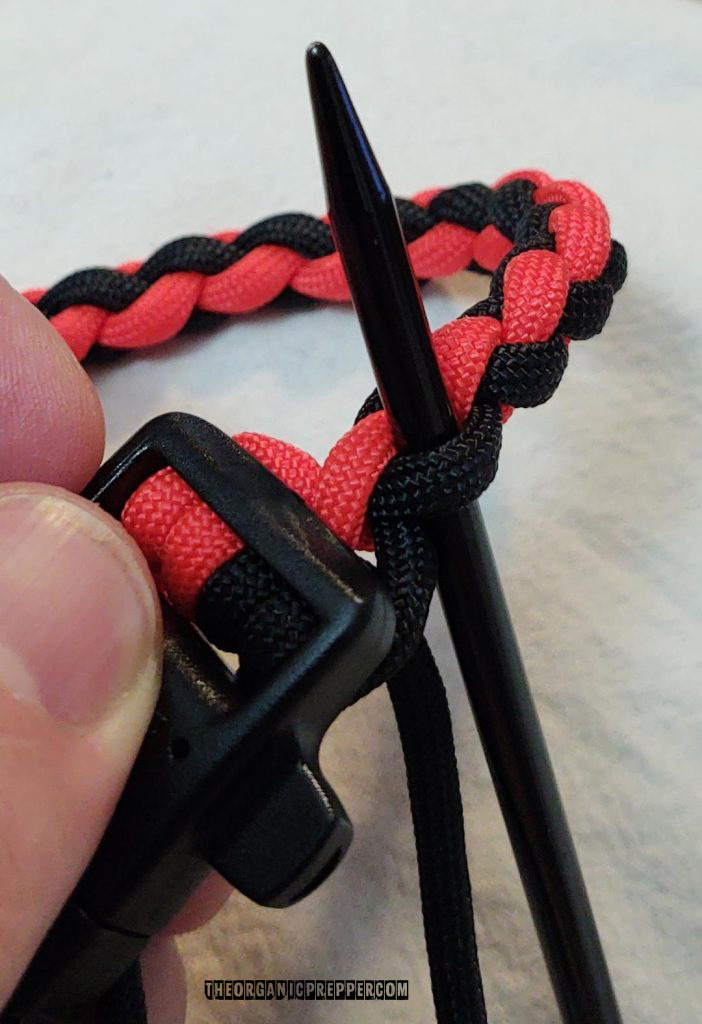
Step 12.
Insert the needle in the opposite direction of the next black arch and pull the cord through. Repeat this process five times.
When you are done, remove the needle and attach it to the other black cord and repeat the above steps with the black arches on the opposite side of the braids.
When you are done, remove the need and repeat the above steps with the two remaining orange strands under the orange arches.
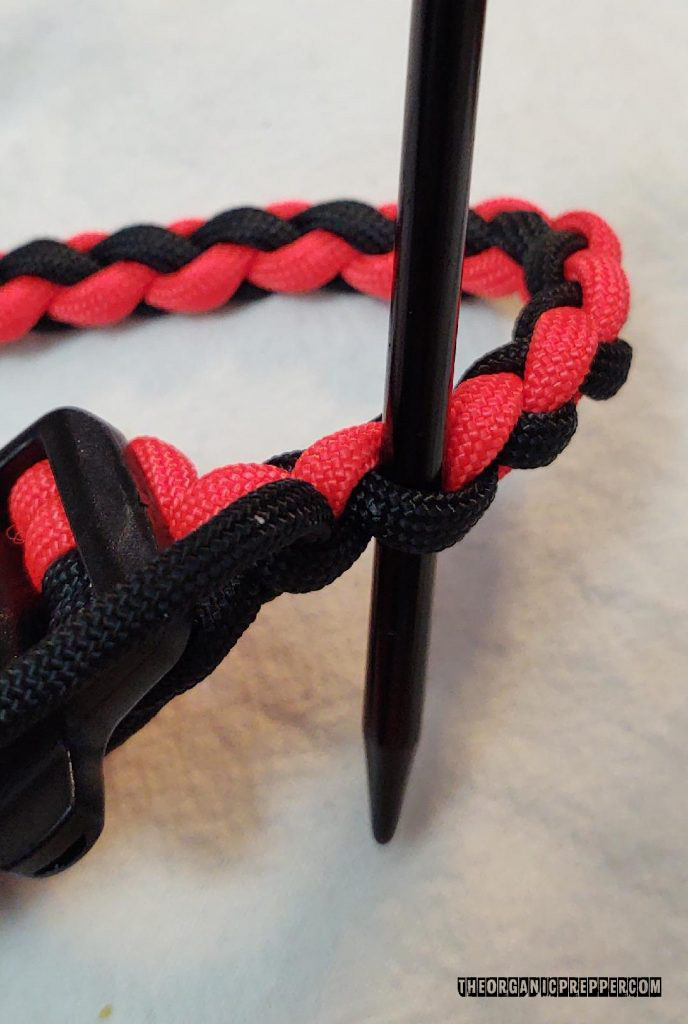
Step 13.
After you have laced the strands back through the body of the lanyard, it should look like the picture.
Step 14.
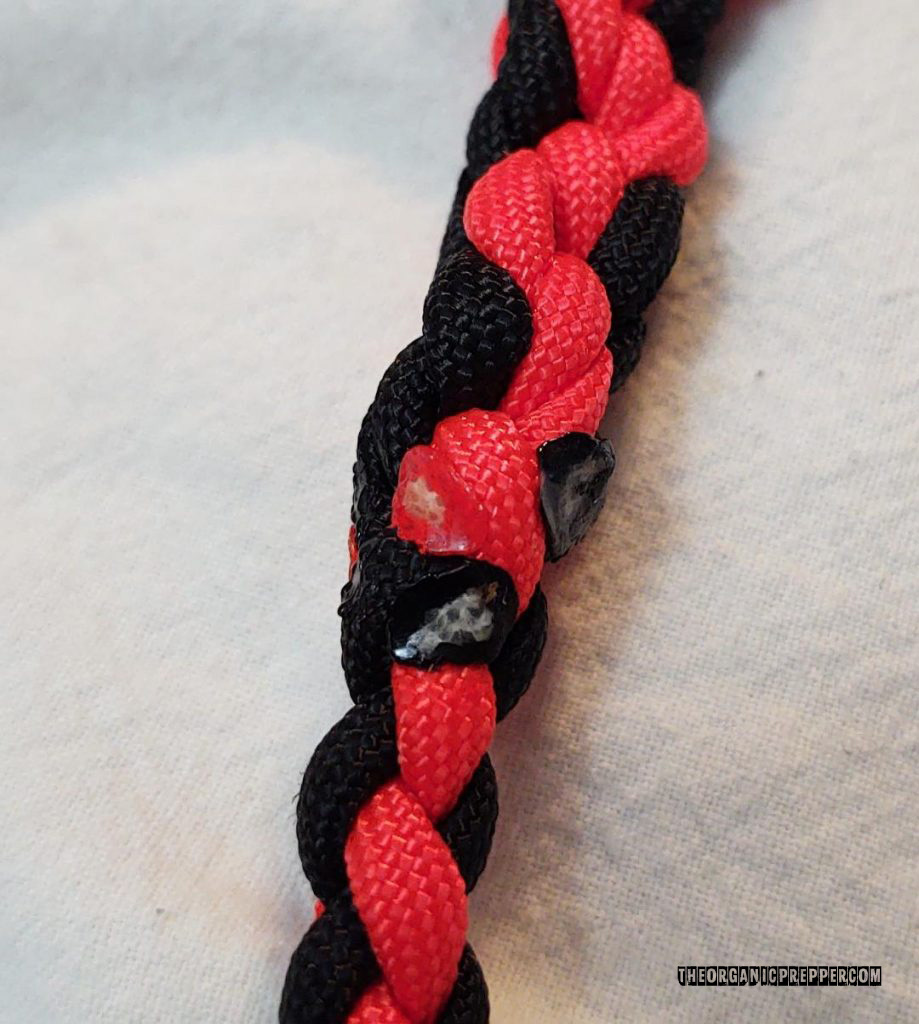
Take your scissors and cut one strand close to the braid. Use a lighter to gently melt the end of the paracord. When you can see a small glob of melted material, turn the lighter off and use the side of the lighter to press the melted material into the braid. Repeat this step three more times for the remaining strands.
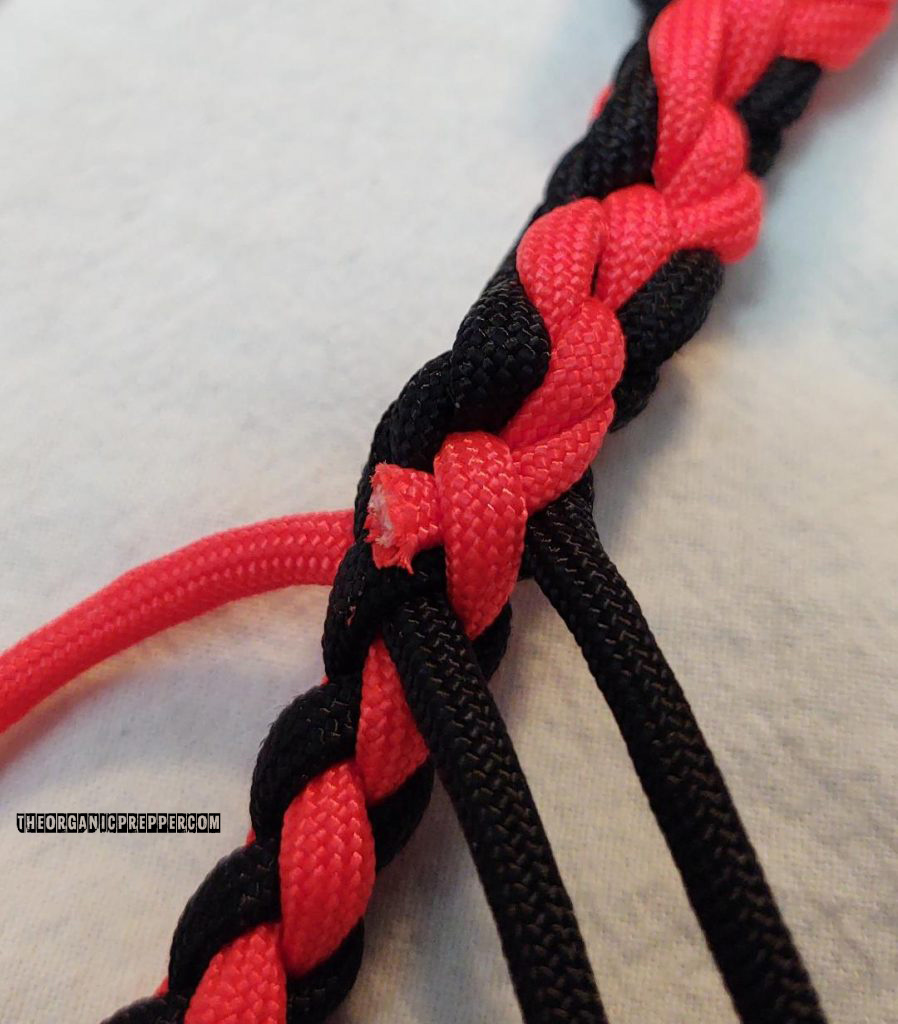
Step 15.
The melted strands will look like this.
Step 16.
The main body of the lanyard is done, and all that is left is to add some loops for hanging items. There are a lot of different ways for doing this, and the knots that you use will depend on what you want to hang. It is also up to you where on the lanyard you want to put the hanging points.
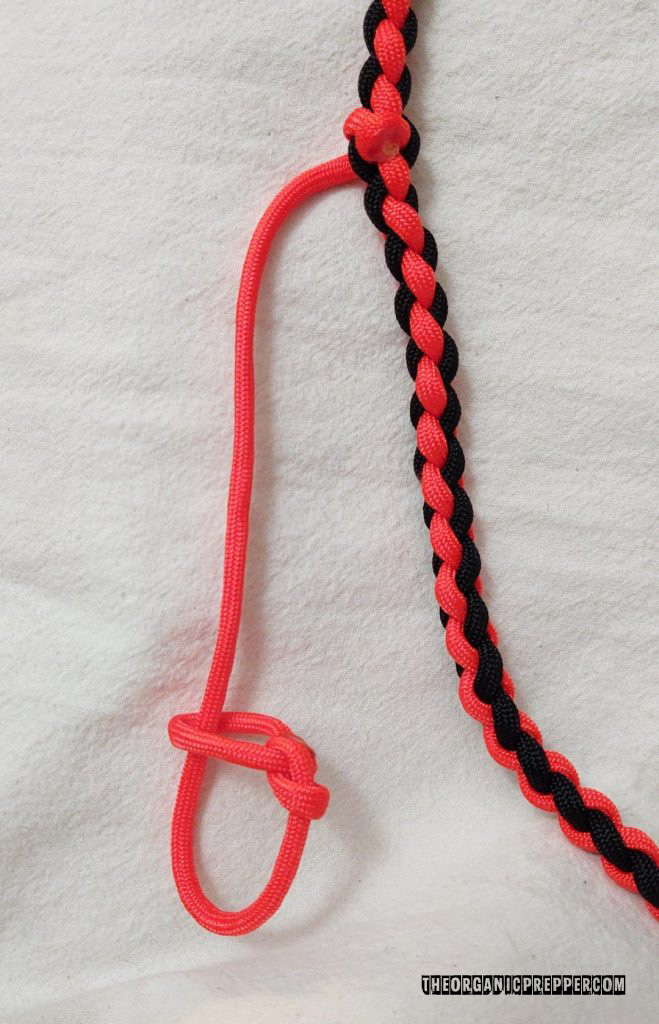
For the purpose of this tutorial, I made these points simple.
I used the lacing needle to insert one end of paracord through the braid, tied a simple overhand knot, cut the end close to the knot, and burned it.
On the opposite end of this cord, I tied a small running bowline. This allows me to have an adjustable loop where items can be hung.
Final thoughts on paracord lanyards…
I have made this exact type of lanyard for holding game calls, but I have also used them to hold other outdoor tools or survival gear.
The most important thing to remember when making a paracord lanyard is that a plastic buckle or break-away clasp needs to be used. Type III paracord has a breaking point of 550 pounds, so it can be dangerous having such a strong piece of cordage hanging around your neck.
Thanks for reading, and I hope you enjoyed the project. If you are looking for more paracord projects, or if you’re interested in how paracord can be used in the outdoors, check out my book Paracord Projects For Camping and Outdoor Survival.
Have you ever made a paracord lanyard or what have you used paracord to make? Let us know your experiences and thoughts by leaving a comment below.
About Bryan Lynch
Bryan Lynch is the author of two books, Swiss Army Knife Camping And Outdoor Survival Guide, and Paracord Projects For Camping And Outdoor Survival. He has also written hundreds of articles about prepping, emergency preparedness, self-reliance, and gear reviews. Through his writing, his hope to help educate people and get them interested in these topics so that they are better prepared for an emergency.


2 Responses
Haven’t made bracelets for years. They sure get to smelling in the summer lol.
I’ve still got a few key fobs on my keys, knife sharpener etc.
I always wondered how these were made. Thank you!