
I set up my Martha tent a few months ago, and it’s indeed been interesting! Like pretty much everything else, it’s not a set it and forget it kind of project. I’ve had to fiddle with a few of the parameters, toasted two components that required replacement, and have been winging it a bit, growing an oyster variety that isn’t directly covered in my references. If you’d like copious detail, read on!
What’s a Martha tent?
As a refresher: a Martha tent is a structure geared towards growing mushrooms indoors. They require a warmer and more humid environment than most people enjoy, and it’s easier to control environmental conditions within this small structure.
It’s composed of six basic components: a plastic greenhouse, a small duct fan, an ultrasonic humidifier or reptile fogger, a humidity controller, a power strip, and a drip pan. No one likes water accumulating in the carpet or warping the floors!
It’s a very easy structure to assemble and fits into a closet or small corner. You’ll want a corner out of direct lighting. Most fungi prefer a bit of shade, and direct light can heat the structure well past fungal comfort temperatures. Cook your mushrooms, not your mycelia.
How I set up my Martha tent
So I set up my tent in about 30 minutes. I purchased a small ultrasonic humidifier rated for the space size. The reservoir was pretty small, so I had to fill it several times per day – inconvenient but not impossible. The smaller reservoir fit onto the bottom shelf nicely, and watching the steam rise was kind of Gothic.
I’d also purchased a small temperature and humidity monitor so I could see numbers. The small humidifier I’d purchased kept the humidity pegged at 95-99%, and I also had to clean out the drip pan nearly every day. The Stamets book does give humidity parameters for various stages of production, and that’s the right humidity for some stages. Others need to be lower, and my shelves were literally dripping.
As fun as this was, it lasted five days. One day the humidifier simply gave up the ghost. I tried every troubleshooting tip in the manual to no avail and even contacted the company. My $35 component was fried. Thankfully, the store took it back with no questions asked. After watching the North Spore video again, I noted what kind of humidifier they used and found it on Amazon. It costs twice as much and is a bigger hassle to get in and out of the tent for filling, but it’s still in service.
The lesson here: the cheap comes out expensive. Buy a good ultrasonic humidifier.
(Interested in more information on increasing your food supplies? Check out our free QUICKSTART Guide to building a 3-layer food storage plan.)
Your Martha tent needs a quality humidity controller.
The second component I had to replace was the humidity controller. The first controller I’d purchased required that I wire it into the wall, which I wasn’t willing to do, so back that one went. The second was plug and play, not an Inkbird controller as I’d seen in the video, but I thought it would be fine. It was actually $15 more expensive than the Inkbird I replaced it with, so money doesn’t always buy quality.
Since the video specifically mentioned the top shelf of the tent being a convenient place to put the controller, I inspected the device for seal and placed it there. It was easy enough to set the parameters, so yes, I had it set to the 95-99% humidity value.
One day I heard a loud shriek, the light flashed once, and the controller was toast. There was no way to contact the company whose website was written in Chinese. I don’t read Chinese. Even after translating, there was no way to reach them.
So I grabbed the sensors and tossed the controller. Some research found a cheaper Inkbird, which is the brand used in the video. It lives outside of my tent, with the sensor dangling sweetly from an upper shelf. Let’s not make the same mistake twice, right?
Lesson: electronics are often not as sealed against moisture as they may appear.
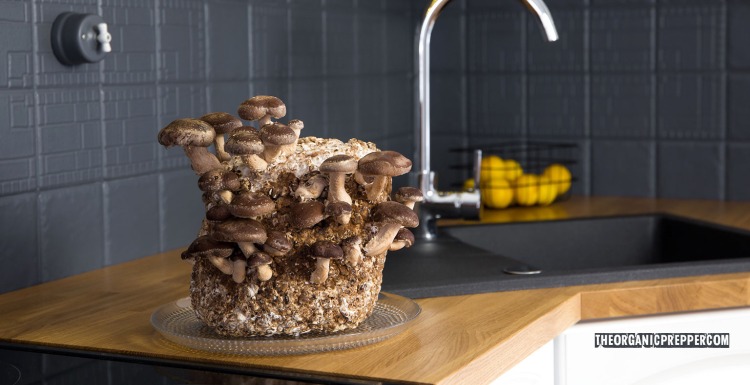
This round’s mushroom? Black Pearl Oysters.
I decided to give Black Pearl oyster mushrooms a try. While oysters, in general, are copiously detailed in my references, Black Pearls aren’t specifically addressed. These are a hybrid between European and Asian Plerotus ostreatus strains. In theory, however, what’s good for their taxonomic cousins should be good for them. Well, kind of.
Put simply, the humidity in my tent was way too high. I was experiencing constant mold contamination, which according to my research, is often a humidity problem. All of my varieties were getting contaminated no matter what precautions I used when inoculating! The Black Pearl bags were especially gross, yielding mostly jelly fungi and a very gross yellow slimy liquid. No mushrooms. This is not my desired outcome.
The first thing I did, obviously, was lower the humidity. My settings are now 65% with a range of 15% +/-. The figure is taken from the Stamets book and gives a more natural environment. The second thing I did was remove the remaining block from the bag and spread it out in a couple of trays.
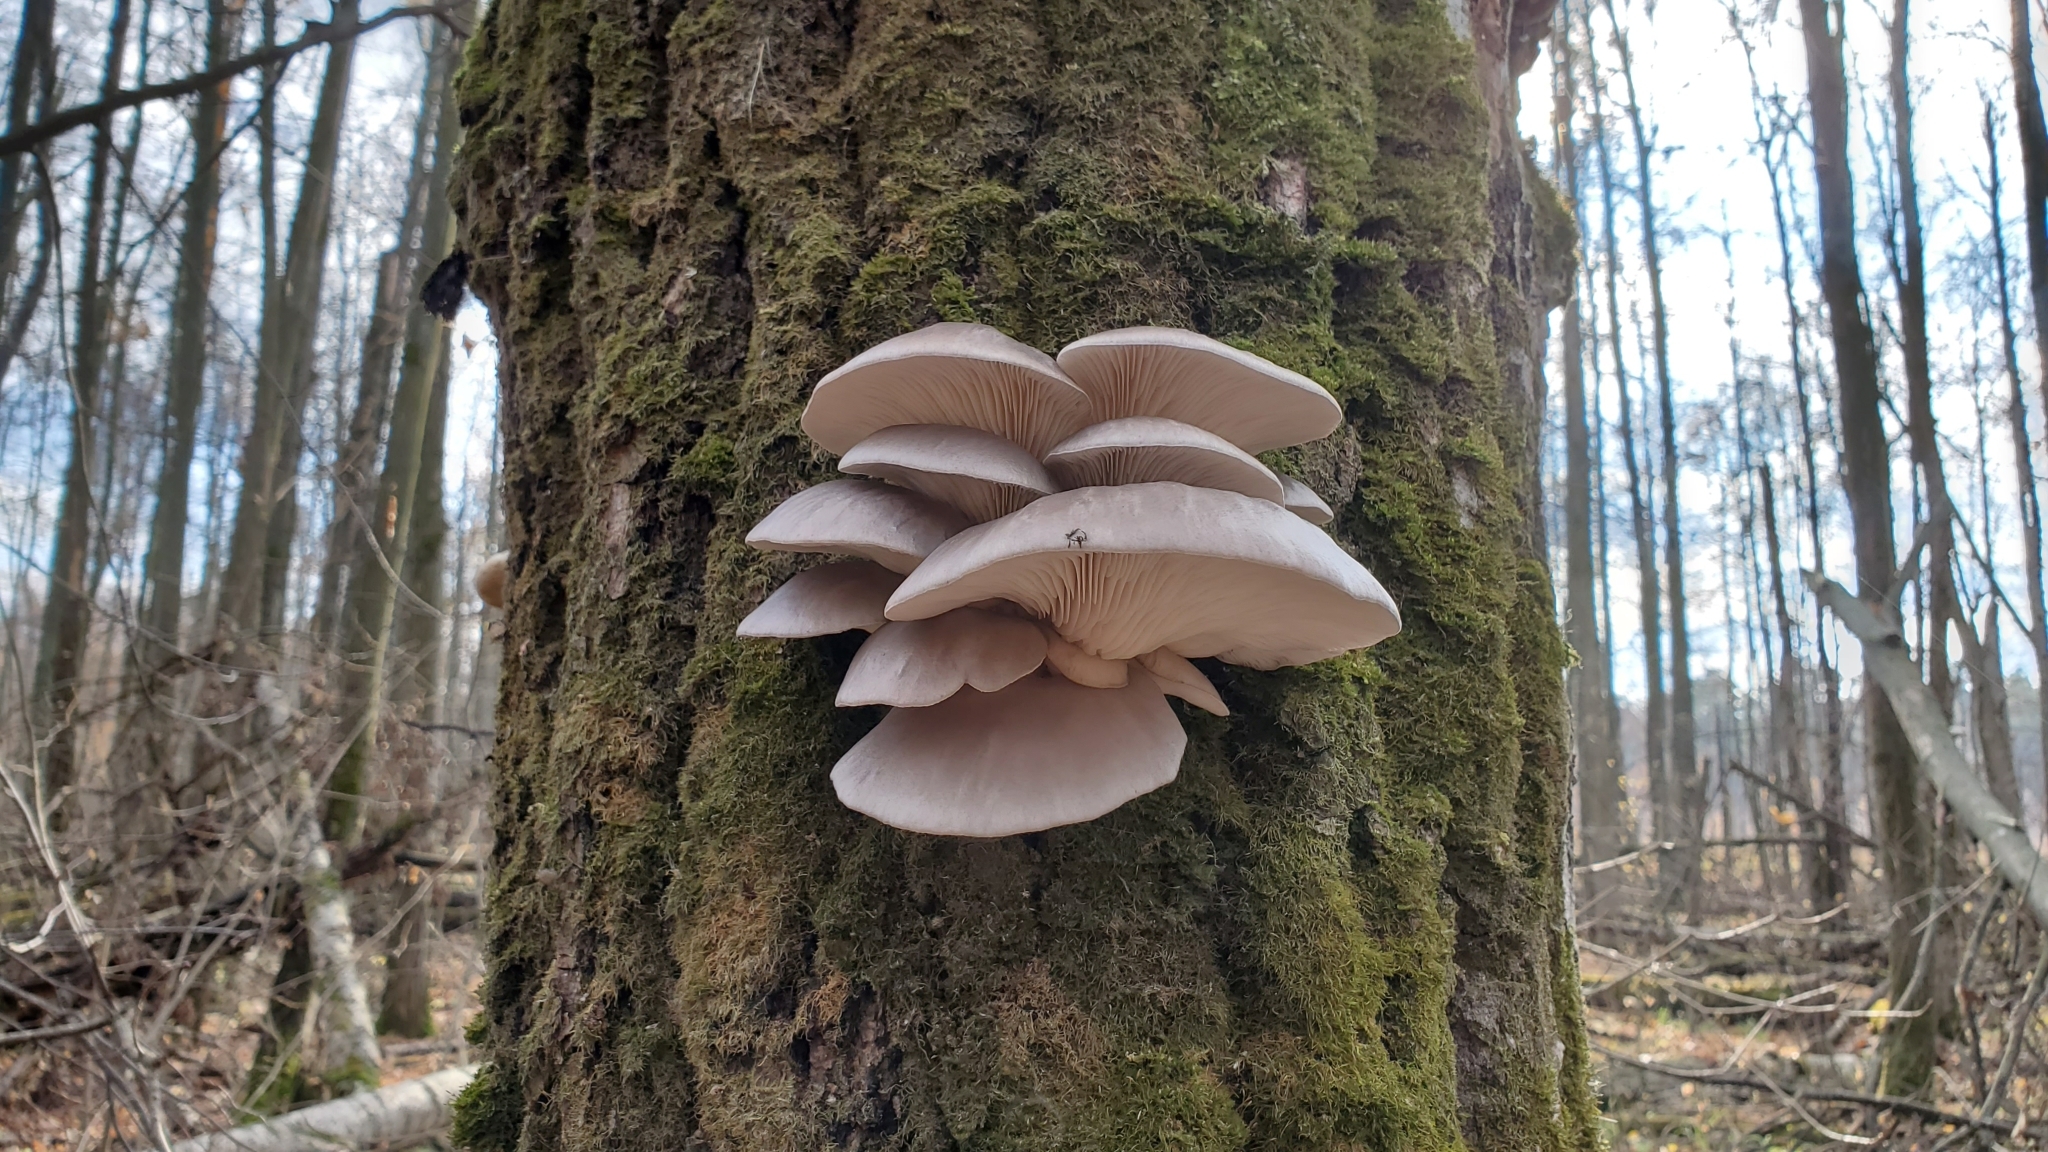
After allowing the mycelia to colonize, I cased the trays with potting soil. I’m now enjoying Black Pearls! This process took about three weeks, but as of this writing, I’ve got mushrooms pinning all over! Lesson: like plants, different mushrooms prefer different conditions. Garden and learn.
(Want uninterrupted access to The Organic Prepper? Check out our paid-subscription newsletter.)
Economics of Martha tents
While I’m certainly making some mistakes along the way, the project is feeding me. I’m learning a great deal about cultivating mushrooms for food, which is far different from lab cultivation. The project was paid for with my first jars of the tincture, so the fruits I’m harvesting now really are pure profit.
I’ve sunk $1200 into this project since inception, so it’s not cheap, but it’s feeding me and will only expand that capability as I learn and refine my process. Another thing I’ve learned is the importance of buying sawdust block components in bulk from mushroom dealers, as this is far cheaper.
My first wheat bran purchase from the grocery store was $4/lb. By purchasing from Mushroom Media Online my price was $1/lb. Bulk purchase is much cheaper, and I have components when I need them.
Books pay off for years, of course. I hit them whenever I have a problem, Internet up or down notwithstanding. The Martha tent will also last for years. Really, my only consumables are rye berry, bags, wheat bran, oak pellets, and potting soil.
So, the lion’s share of the money I’ve invested is startup cost. I’ve also traded my mushrooms with a farmer for chicken eggs, so these have potential as a barter item. They’ve become another solid layer in my food plan, and I’m considering branching out to chestnut shrooms.
I started both the lion’s mane and shiitake cultures from purchased blocks and the Black Pearl from purchased liquid culture. Purchased blocks yield mushrooms more quickly but are more expensive. Liquid culture yields more slowly but is cheaper. Either way works! I’ll keep all of you updated on my journey as feasible.
Are you cultivating your own shrooms?
Have you ever experimented with a Martha tent? What lessons have you learned along the way? Please tell us in the comments below!
About Amy Allen
Amy Allen is a professional bookworm and student of Life, the Universe, and Everything. She’s also a Master Gardener with a BS in biology, and has been growing food on her small urban lot since 2010.


5 Responses
thank you Amy, nice information. I tried growing oysters but failed miserably, never checked temp or humidity but the tent system makes sense, will try again!
Go for it! It does take some fiddling but it CAN be done. You might even consider table top kits, which are very cost effective. North Spore and Field & Forest both have great products and lots of knowledge for the beginner. If you really want to dive in, the course sold on this site is also great.
Very cool! Thank you for sharing your process, the good and the bad, and most importantly the lessons learned along the way. It makes me want to take a big tote with a lid and some spore and some substrate for the mushrooms, and just mist them several times a day to see how that goes. I wonder that because I have quite the crop of mushrooms in my garden beds – probably not an edible variety – and I’m in Arizona. I get that from just watering twice daily. So it makes me want to experiment!
Glad to hear it! Research the concept of microtubs. 🙂 Which FYI are covered in the course.
Amy, Thanks for posting. I’m also just starting to grow shrooms. I’ve always foraged for morels last 50 years, but they’re getting scarse in my woods. I just bought a fully automated martha tent and am looking for things to grow. So far, I grew a good crop of blue oysters in buckets. They were delicious. I’ll post and we can learn together…..